Oh wow, this is where I achieved one of my goals without even realising it! Ever since my children were born, I wanted to make something for them that they would want to keep (hopefully forever and ever and ever). A few months ago I was planning on throwing out a purple crushed velvet shirt that was 20 years old. Up until recently, anything that’s worn out either gets turned into dusters, or dust sheets for occasions when we’re painting / plastering etc. The thought of turning things into something else never quite crossed my mind. This is, however, probably because we’ve been living in a building site for years, so smart clothes become DIY clothes, and by the time they’re not good enough for DIY, they’re no good for anything else other than dusters either.
This purple shirt was an exception – too fancy to wear to work, too bold / 90’s styling for me to wear to the pub, and too fancy to wear for DIY, it was destined for the charity shop. Until that is, my daughter spotted it. She loved it, proper love at first sight. I said I would keep it, and make something from it. I was thinking a dress or a skirt maybe, but no, she asked me to make a pillow.
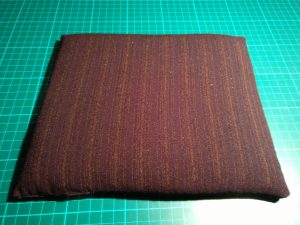
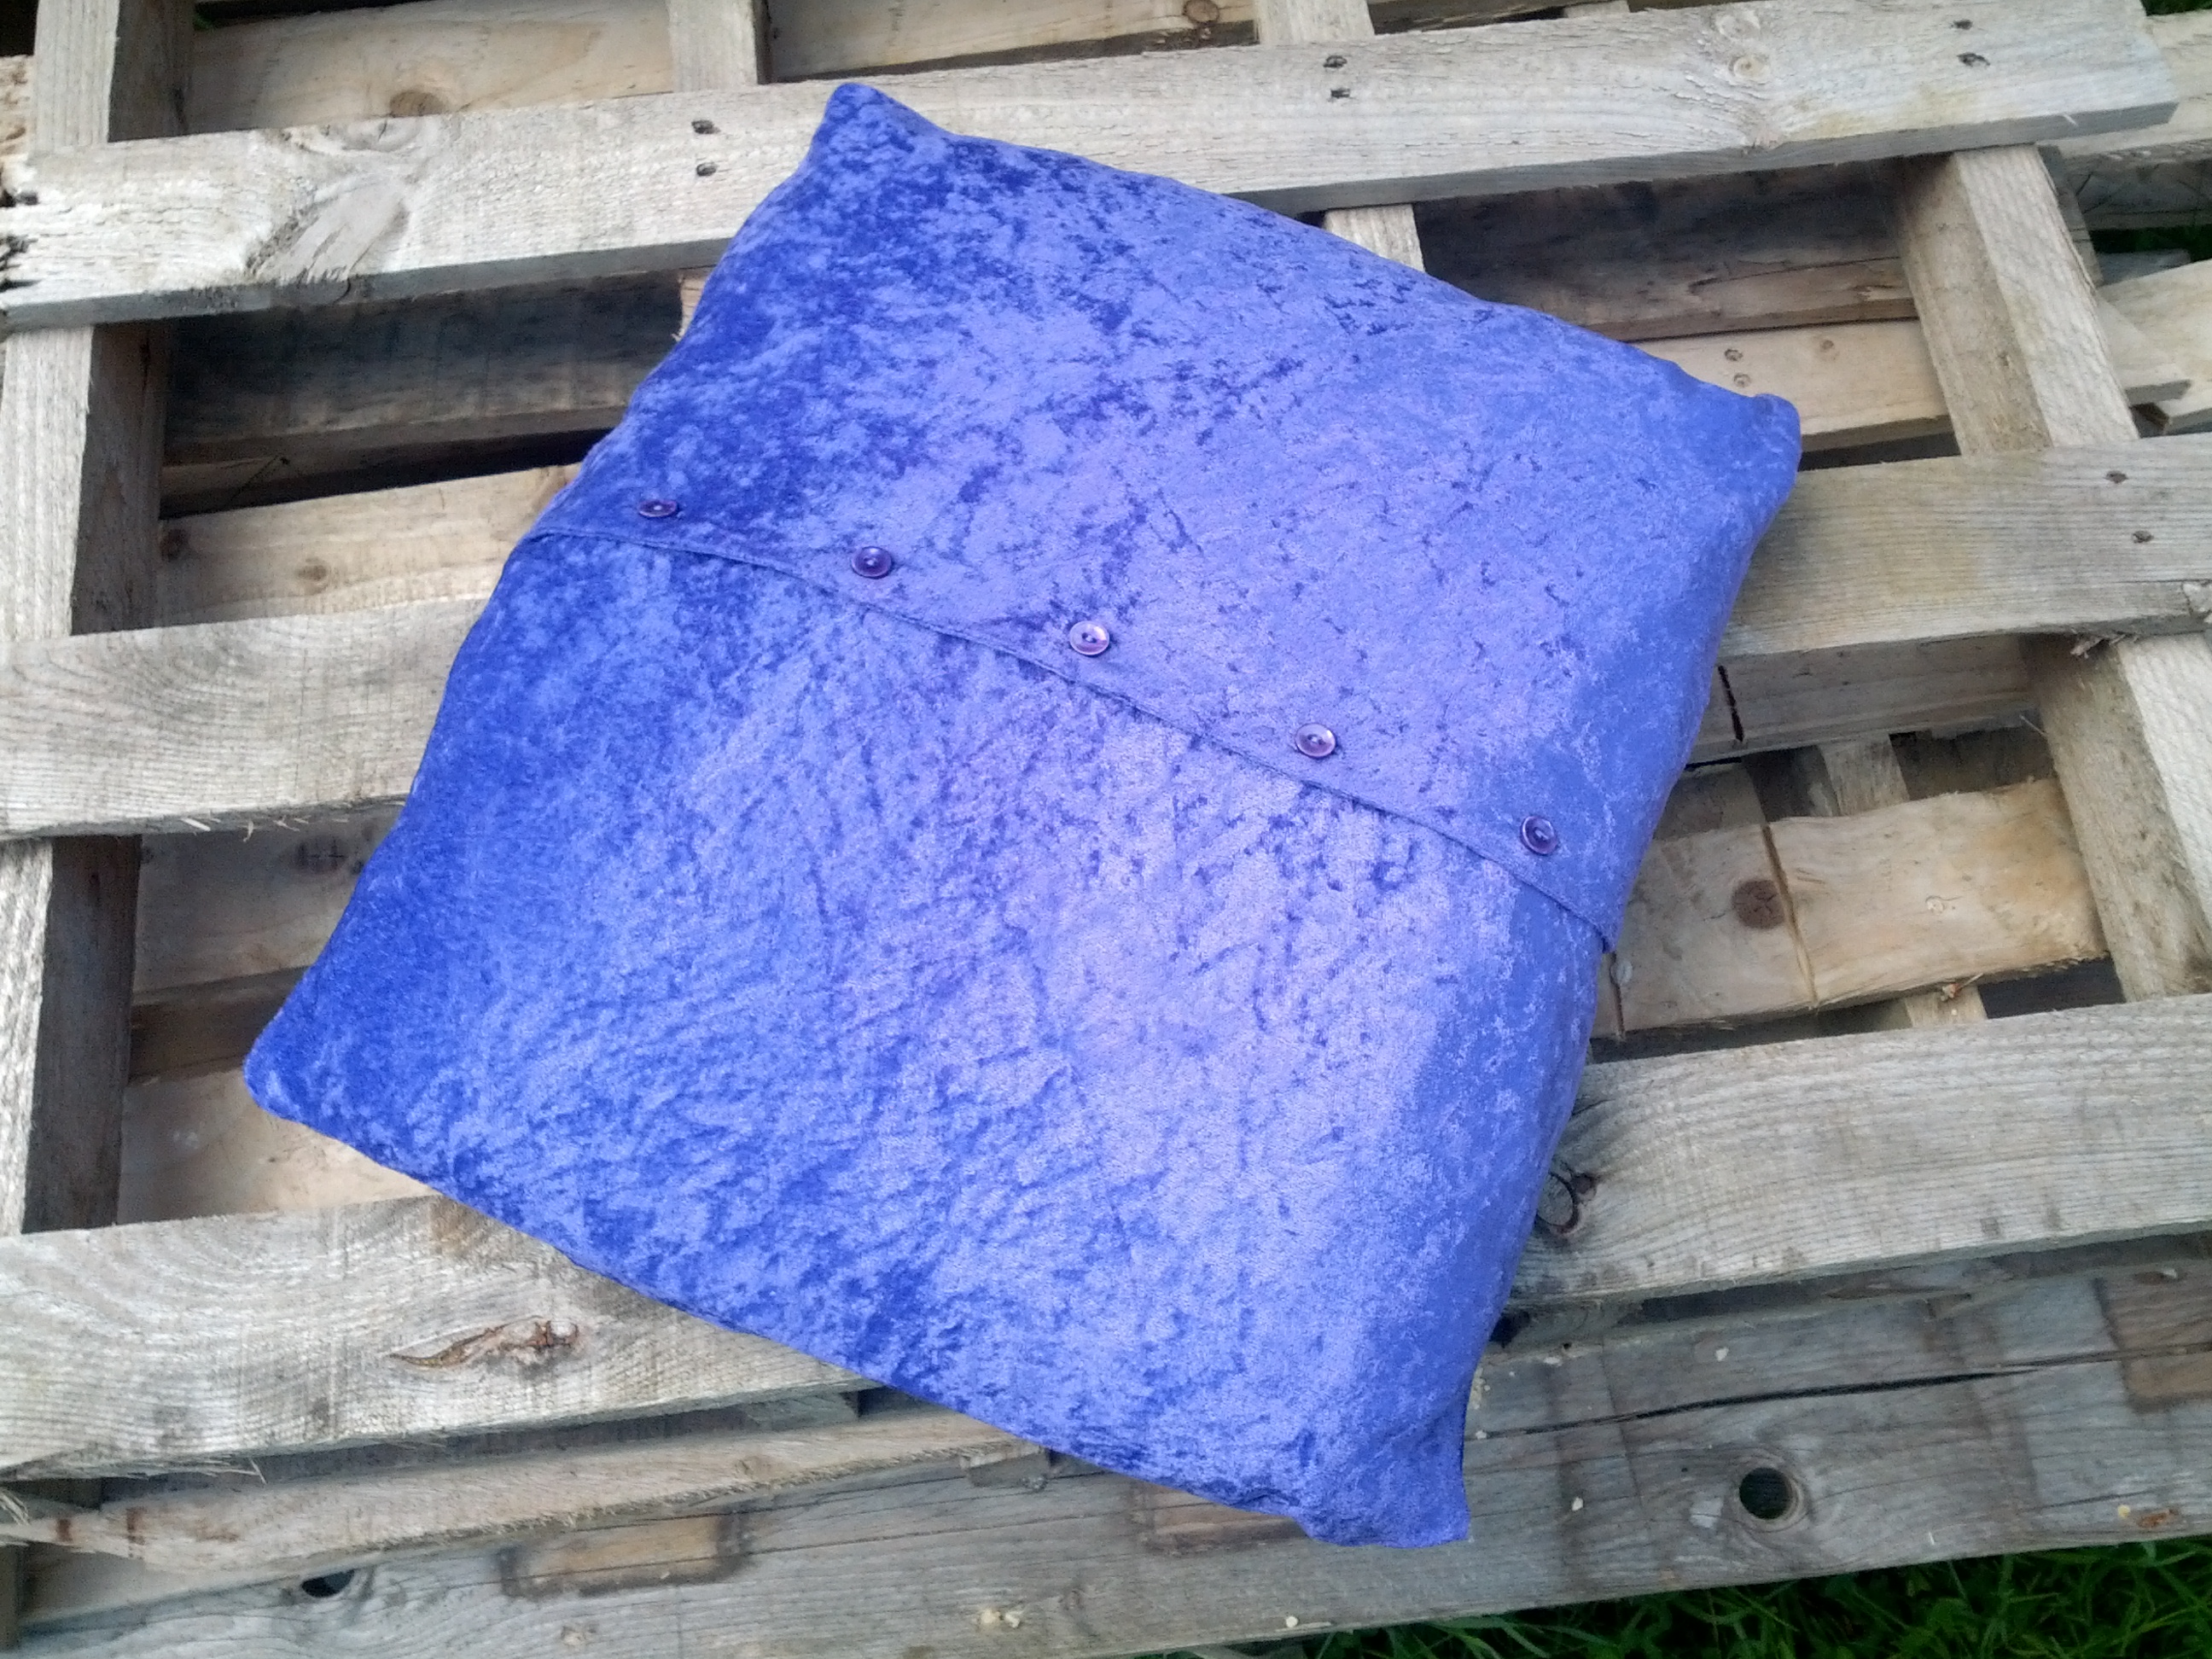
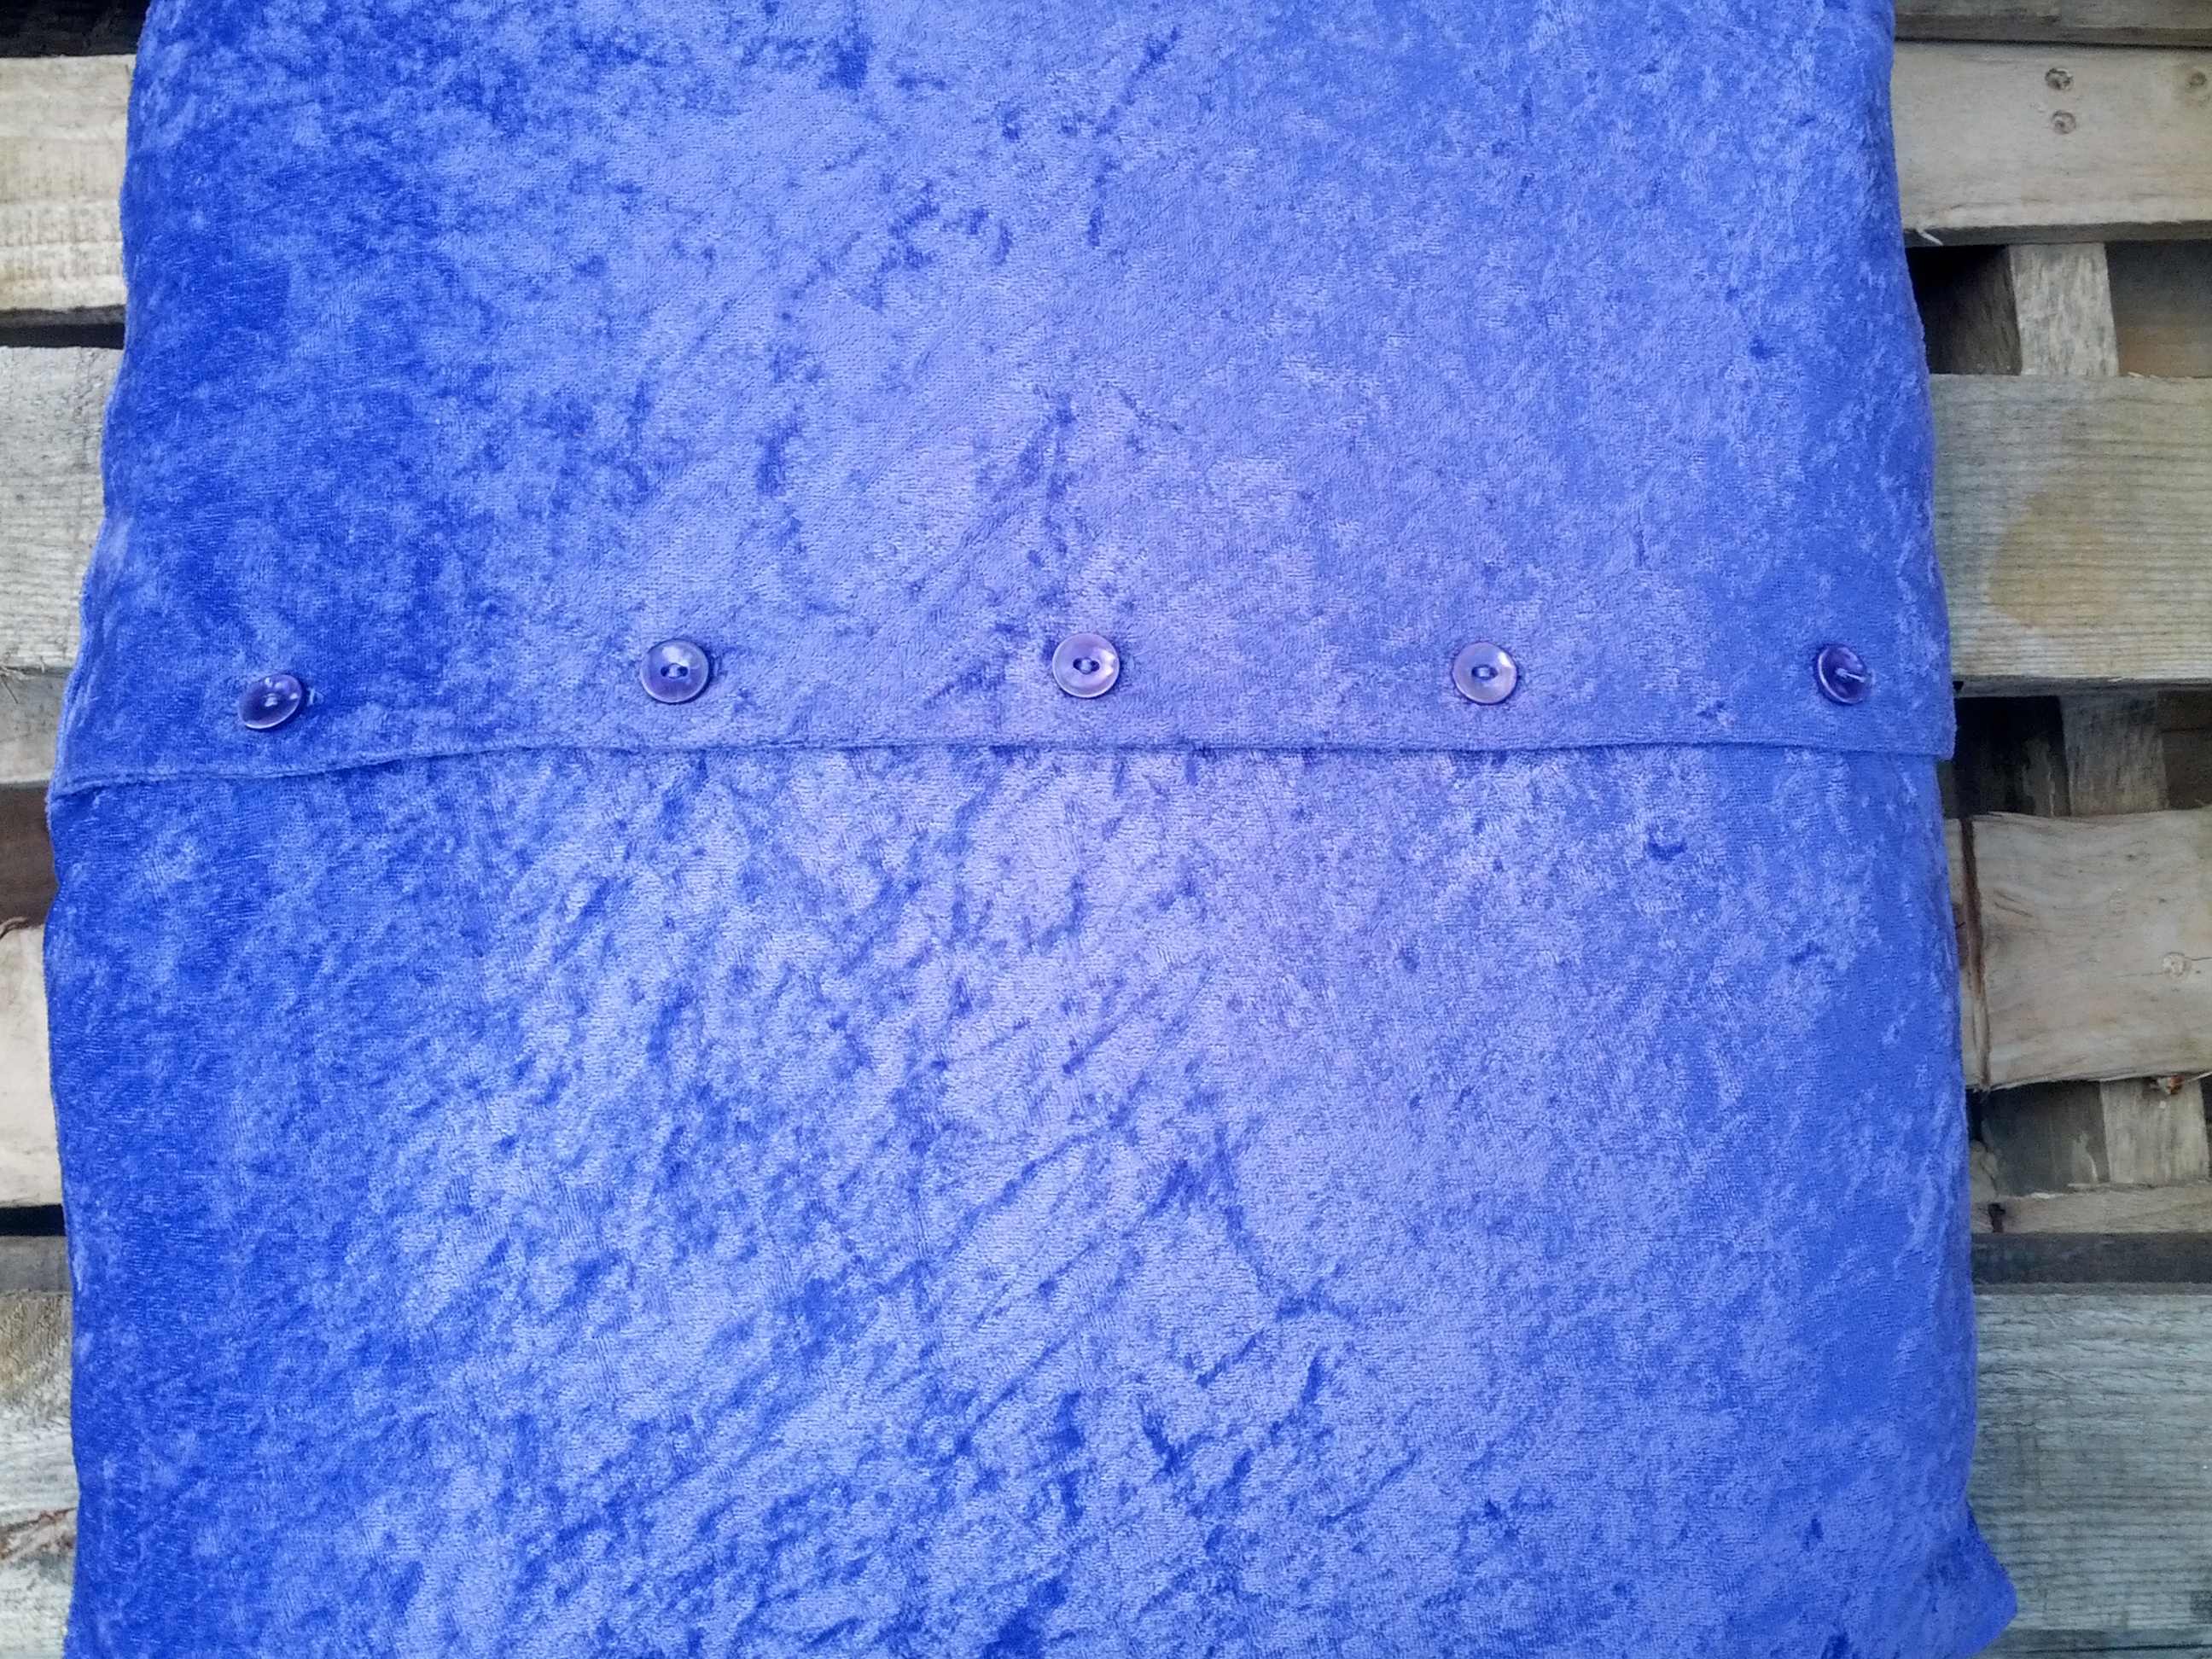
Well, how should I make a pillow? Obviously, what I should have done is googled to find videos and posts about doing essentially the same thing, but I didn’t. I spent some time trying to work out how I could get enough material out of it to make a pillow or cushion cover, until I realised I just needed to cut the neck and sleeves off, and sew up the top and bottom. So one lunchtime I wandered down to my local upholstery shop, bought a cushion pad that fitted in to the bodice and some matching thread, and with just half an hours cutting and sewing I had turned an unloved shirt into a wanted cushion. The only bit of measuring I did was to ensure that the buttons were centred on the pillow – both that the button placket was in the centre, but also so that I had one button in the centre, and so that I didn’t have the top / bottom button just half a centimetre in from the edge for example.
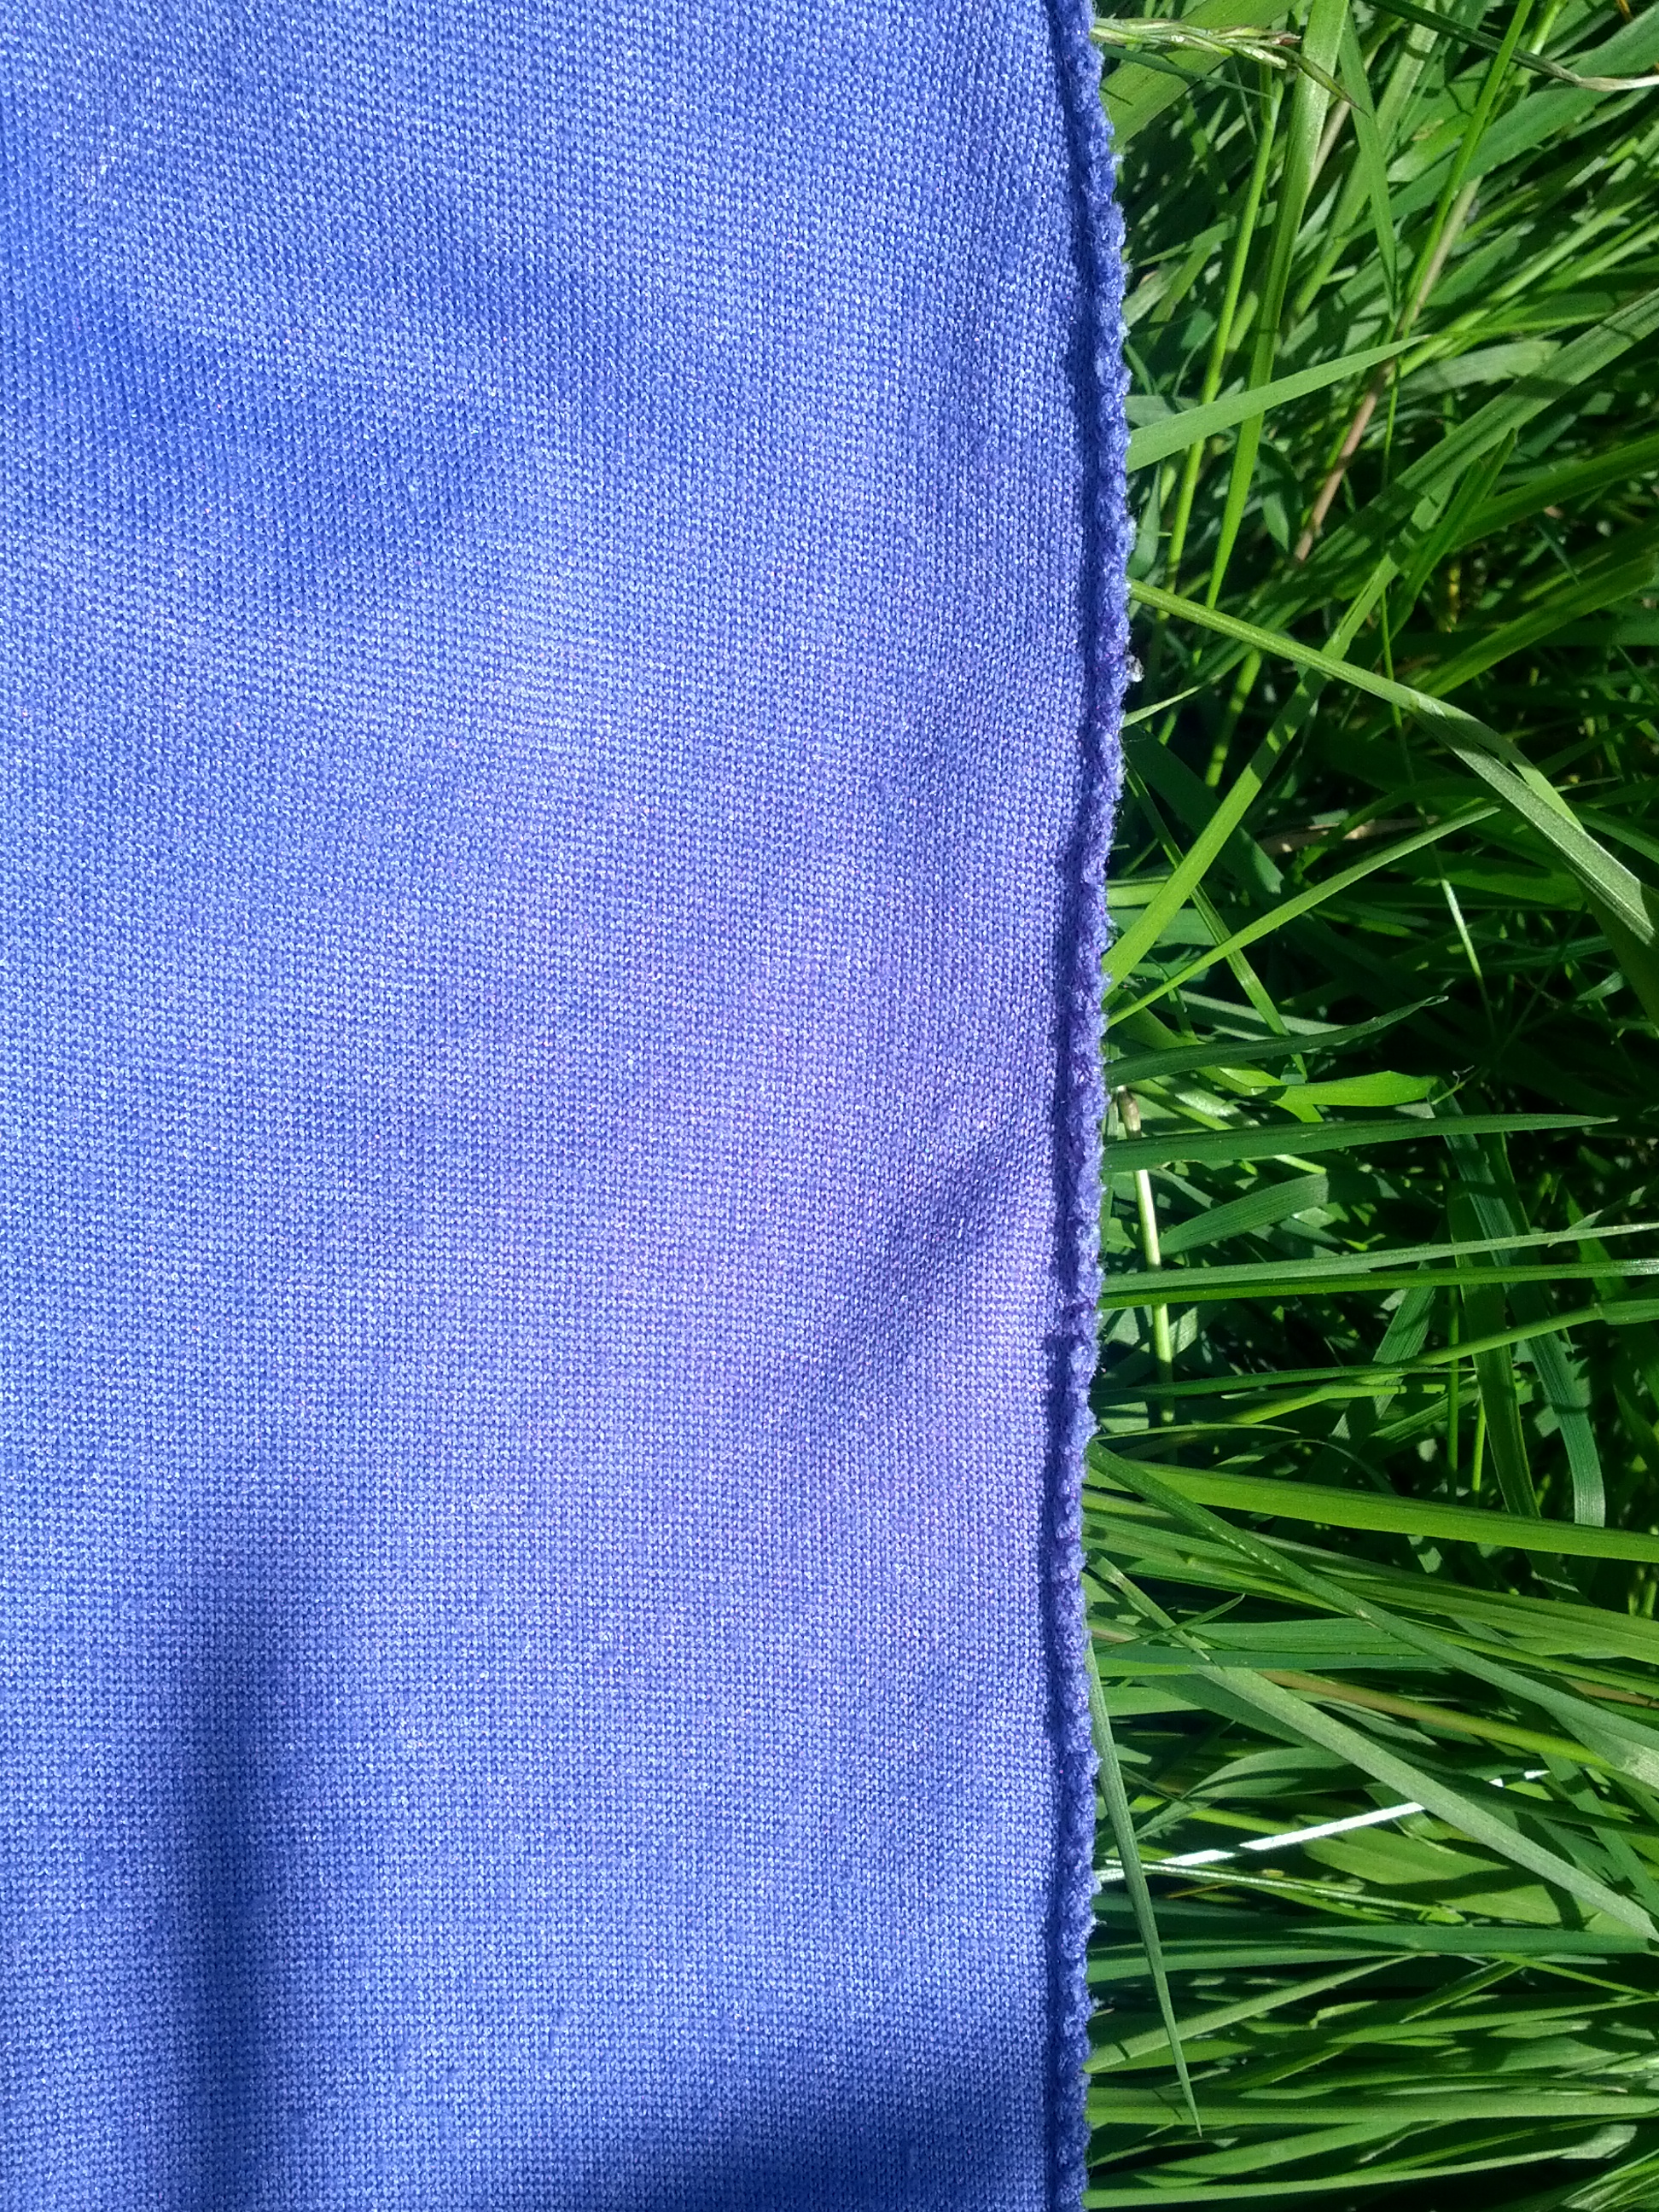
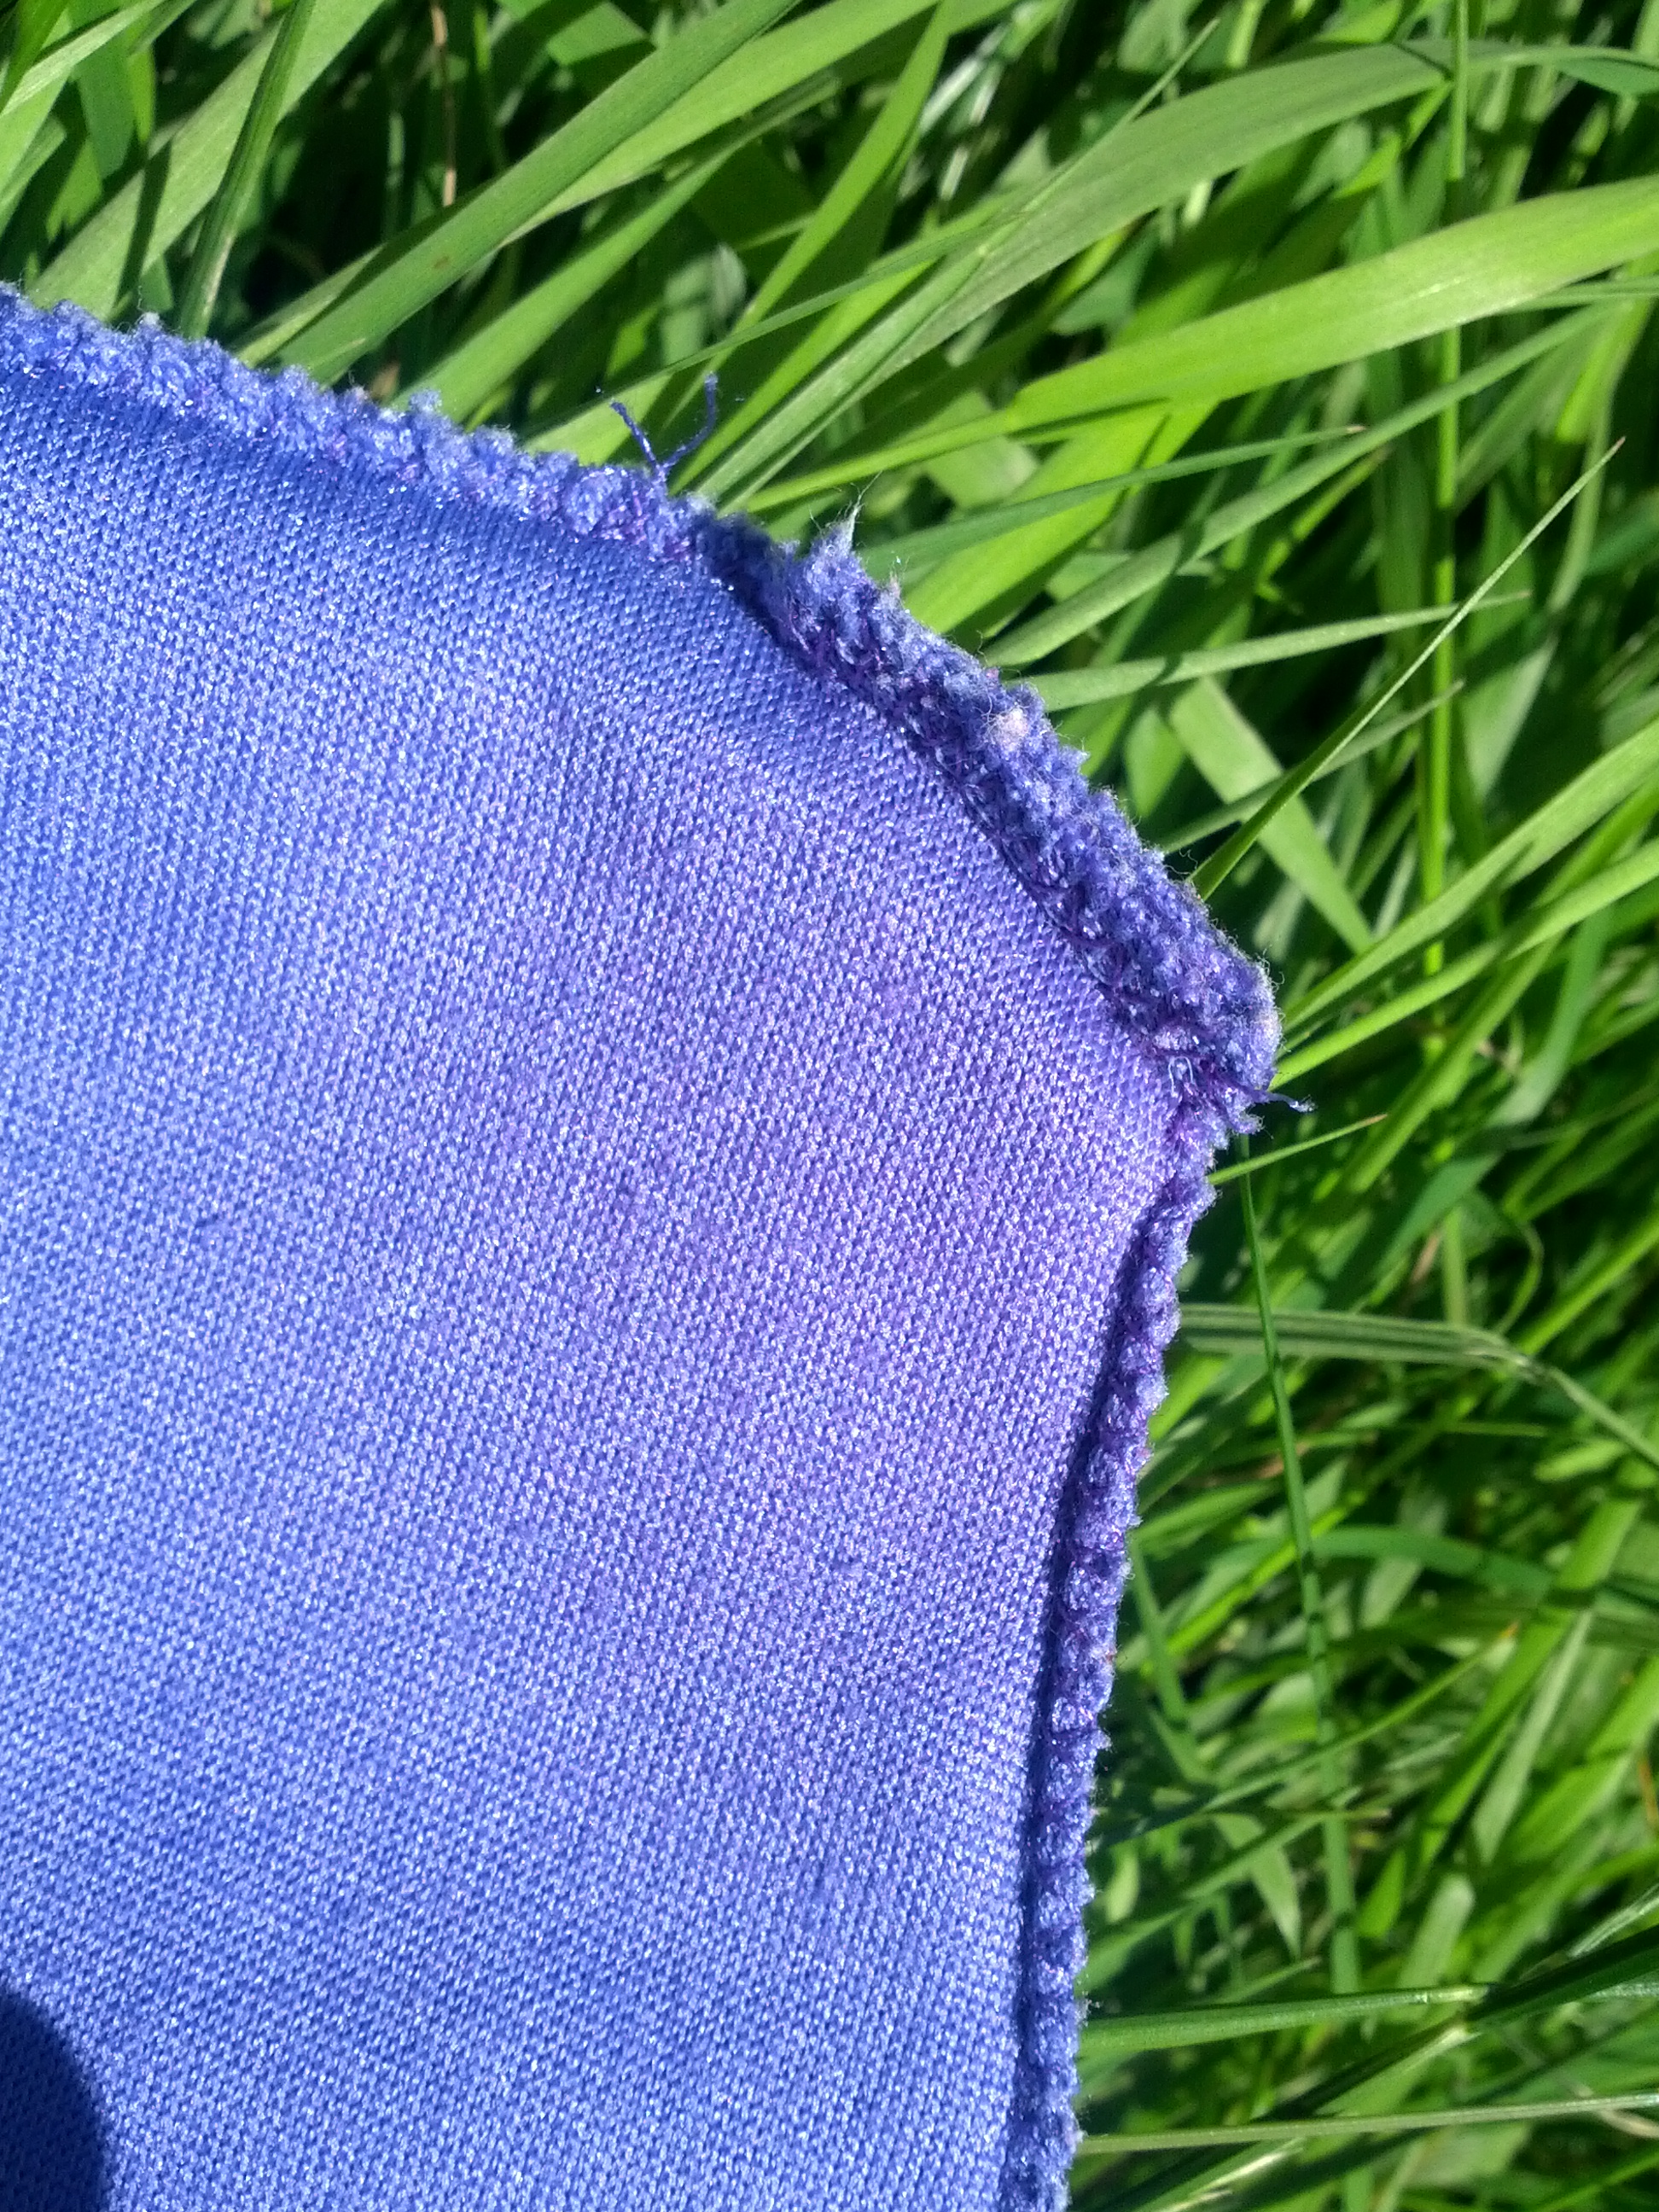
I did have to re-sew the side seams using my machines overcasting stitch, as I had forgotten that the shirt material had a good degree of stretch to it.
This meant that the cushion pad I had originally sized up by the simple technique of laying the shirt over the cushion fillings until I found one that seemed about right, was actually too small. Additionally, the original shirt was slightly fitted. Not by means of darts, but by means of side-seams that came in at the waist and weren’t vertical. This shaping meant that my cushion cover ended up having “ears” at each corner, which flapped around rather forlornly. I cut these ears off (blimey, how vicious does that make me sound?!) and just resewed the seams.
Even with the cutting and sewing time that could have been avoided, I’m really pleased I didn’t throw this shirt away, and that my daughter asked me to make something of it. This cushion is now so loved that it is used as _the_ pillow of choice, and I struggle to get it washed. Fortunately the velvet is easy to wash and dry (I assume it’s a polyester, but the label faded years ago), so most days it can be back on the cushion pad without her even realising it’s been washed! I’m really hoping that my daughter will love it as much as she does now forever.