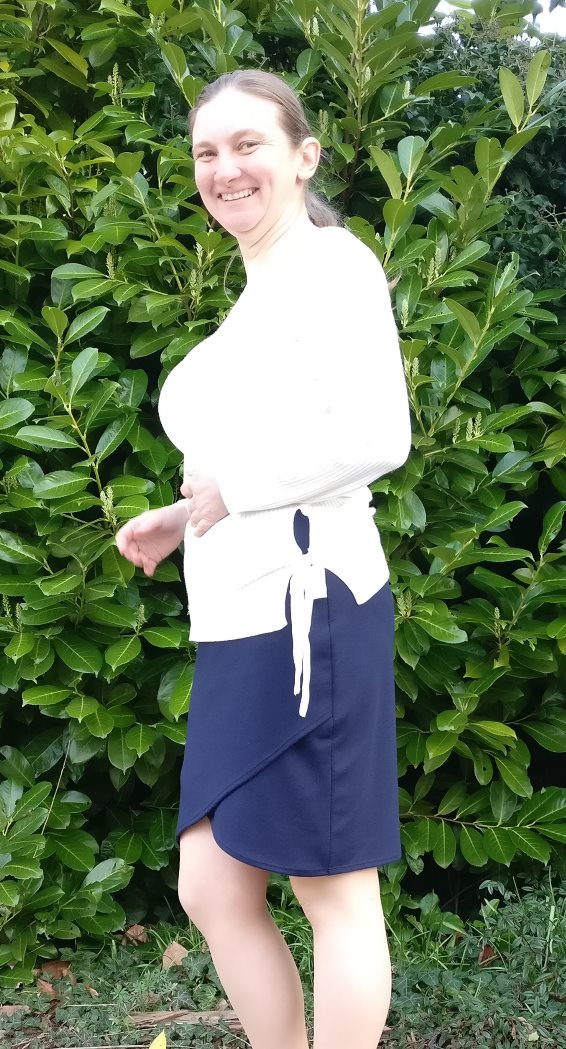
I have been intrigued (and scared) of sewing knits for a good couple of years, never quite knowing where and how to start, but about 18 months ago I came across the Lindy Petal Skirt from Itch to Stitch. It’s a free pattern, and looked to be a pretty good place to start – only 3 main pattern pieces plus a simple elastic waistband, and to top it off, in a style that I thought would work well in my office wardrobe. Once I had found the pattern though, I had to find the material…loads of things I’d read mentioned that Ponte di Roma is a good knit fabric to start with, but I had no idea what it was like, so didn’t really want to order it online, and none of my local fabric shops stocked anything in a knit, so I had no clue what sort of fabric it would be. That then, led to a big delay in actually doing anything about it, until my husband and I went away for a couple of days and found, just around the corner from the hotel, a branch of Abakhan’s! Wow! I was overwhelmed, and very pleased to find some navy Ponte di Roma for a reasonable price. Googling the fabric requirements, I popped in to Abakhan’s the next day, and bought the required 1.5m to make my very own Lindy Petal Skirt.
Moving on to Christmas 2016, I set up my Use 5 list and the navy ponte was right at the top. With a few days off over Christmas I measured, traced my size (medium at the waist, through to small at the hips) using my new French curve and cut my fabric.
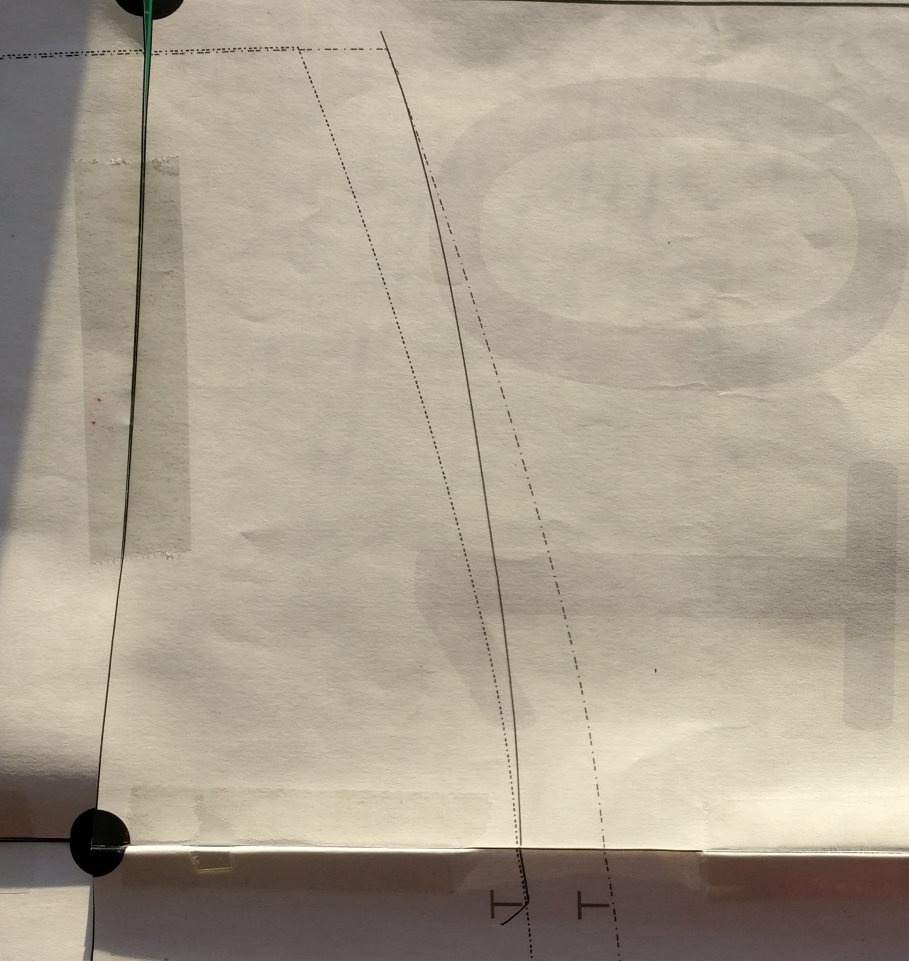
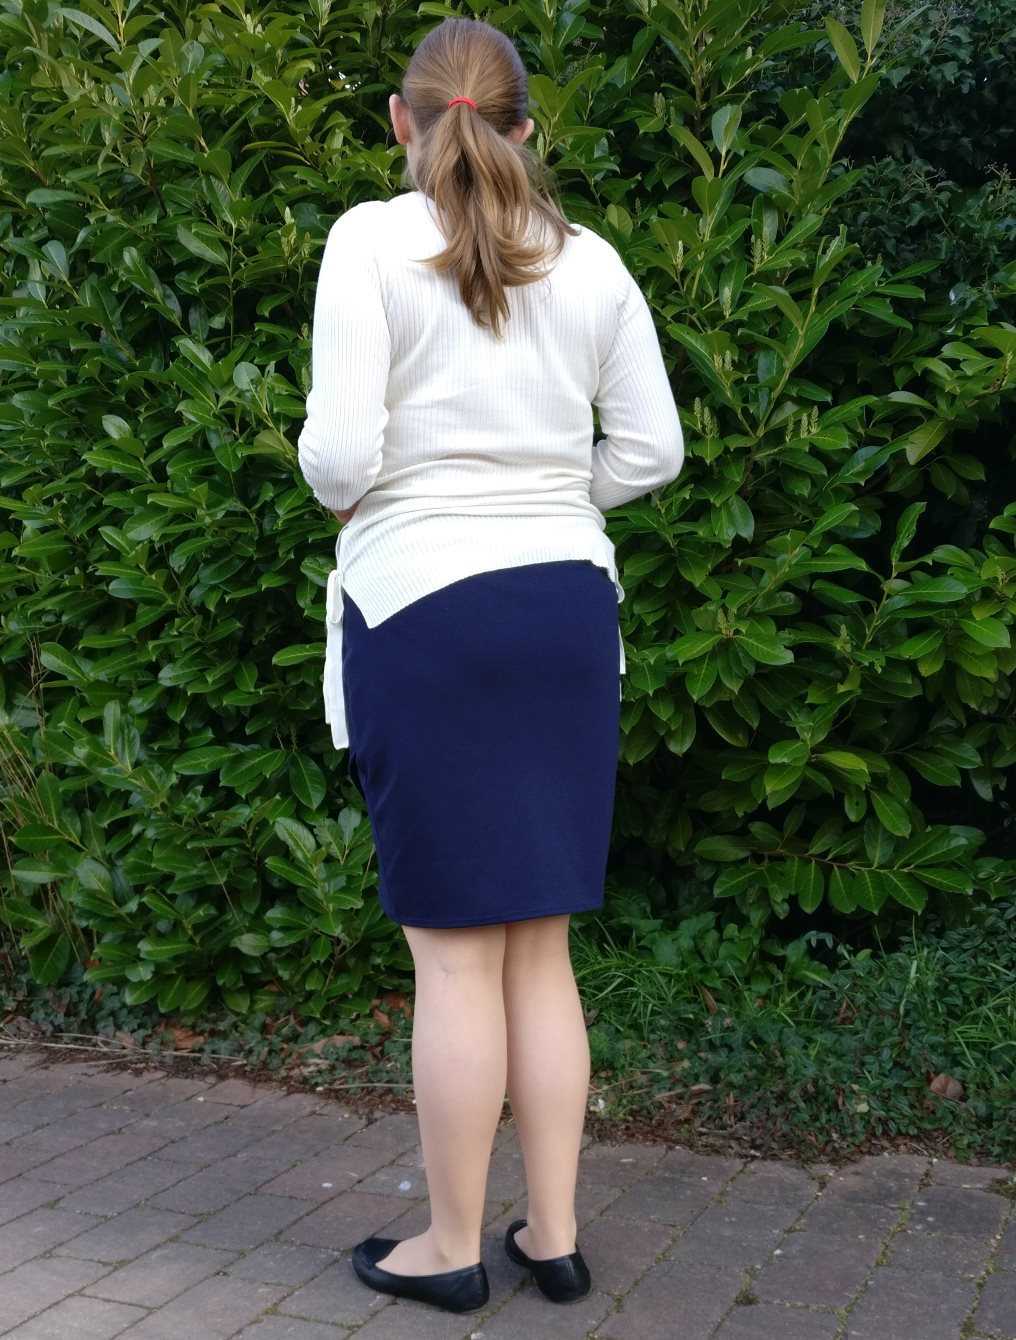
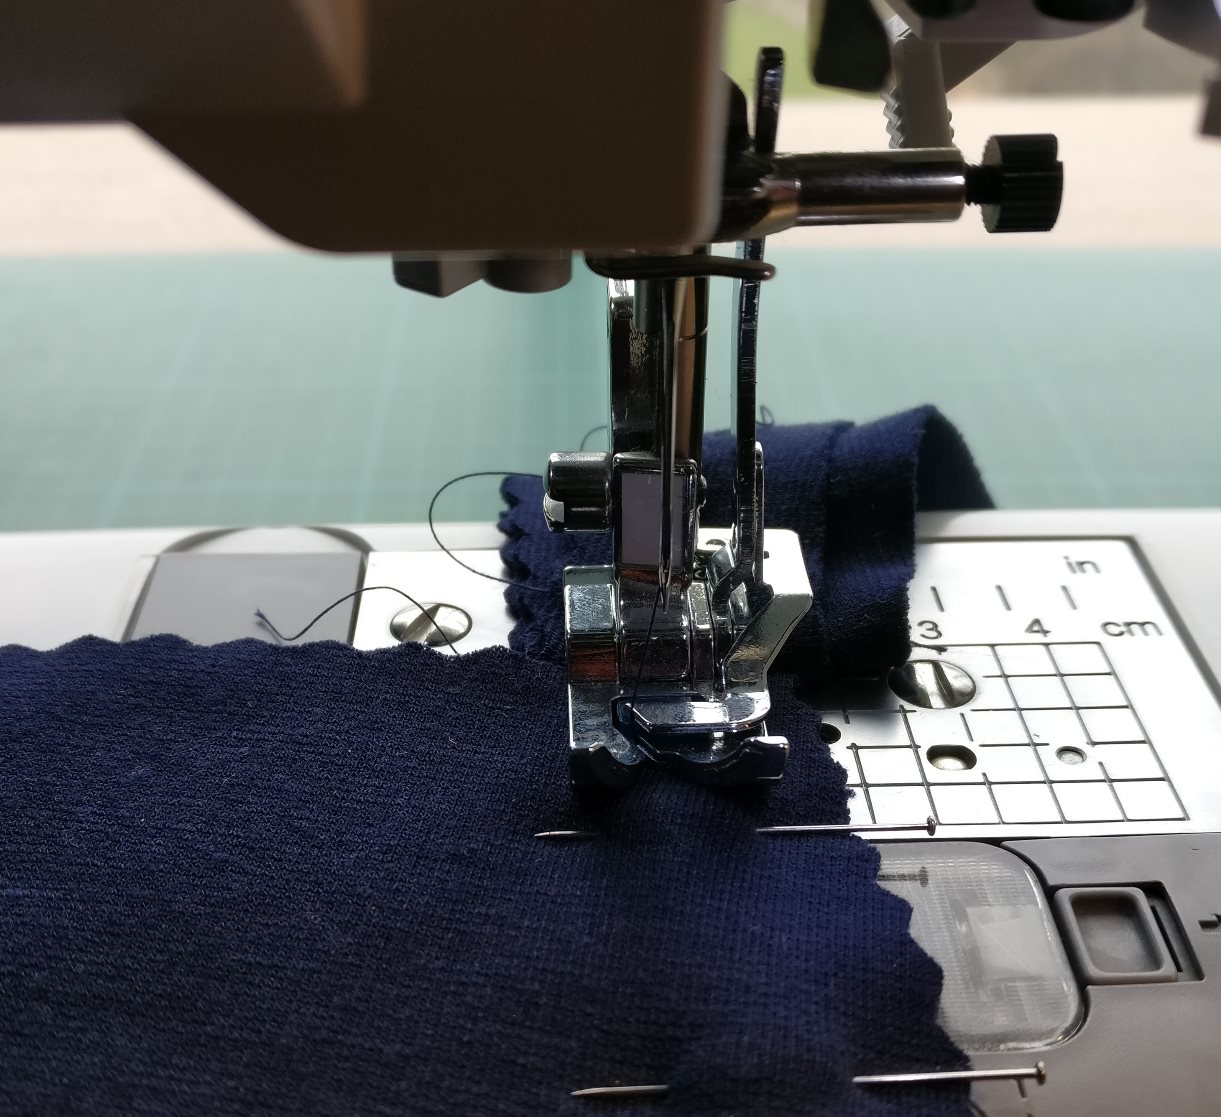
Construction was then pretty simple. I followed the simple and explicit instructions. I simply pinked the raw edges of the fabric. I was slightly confused at why you had to baste the shorter side of both skirt fronts, but this became apparent quickly (you couldn’t do this when the two fronts are sewn together, as you wouldn’t be able to get the presser foot in there!) For the side seams, I simply used the three-step zig-zag stitch and my new knit foot.
Attaching the waistband to the skirt proved to be challenging – it shouldn’t have been, but I found it confusing! I made the loop for the waistband and the elastic loop exactly as specified in the instructions. I then zig-zagged the edge of the waistband to the elastic, and serged the other edge of the waistband to the top of the skirt.
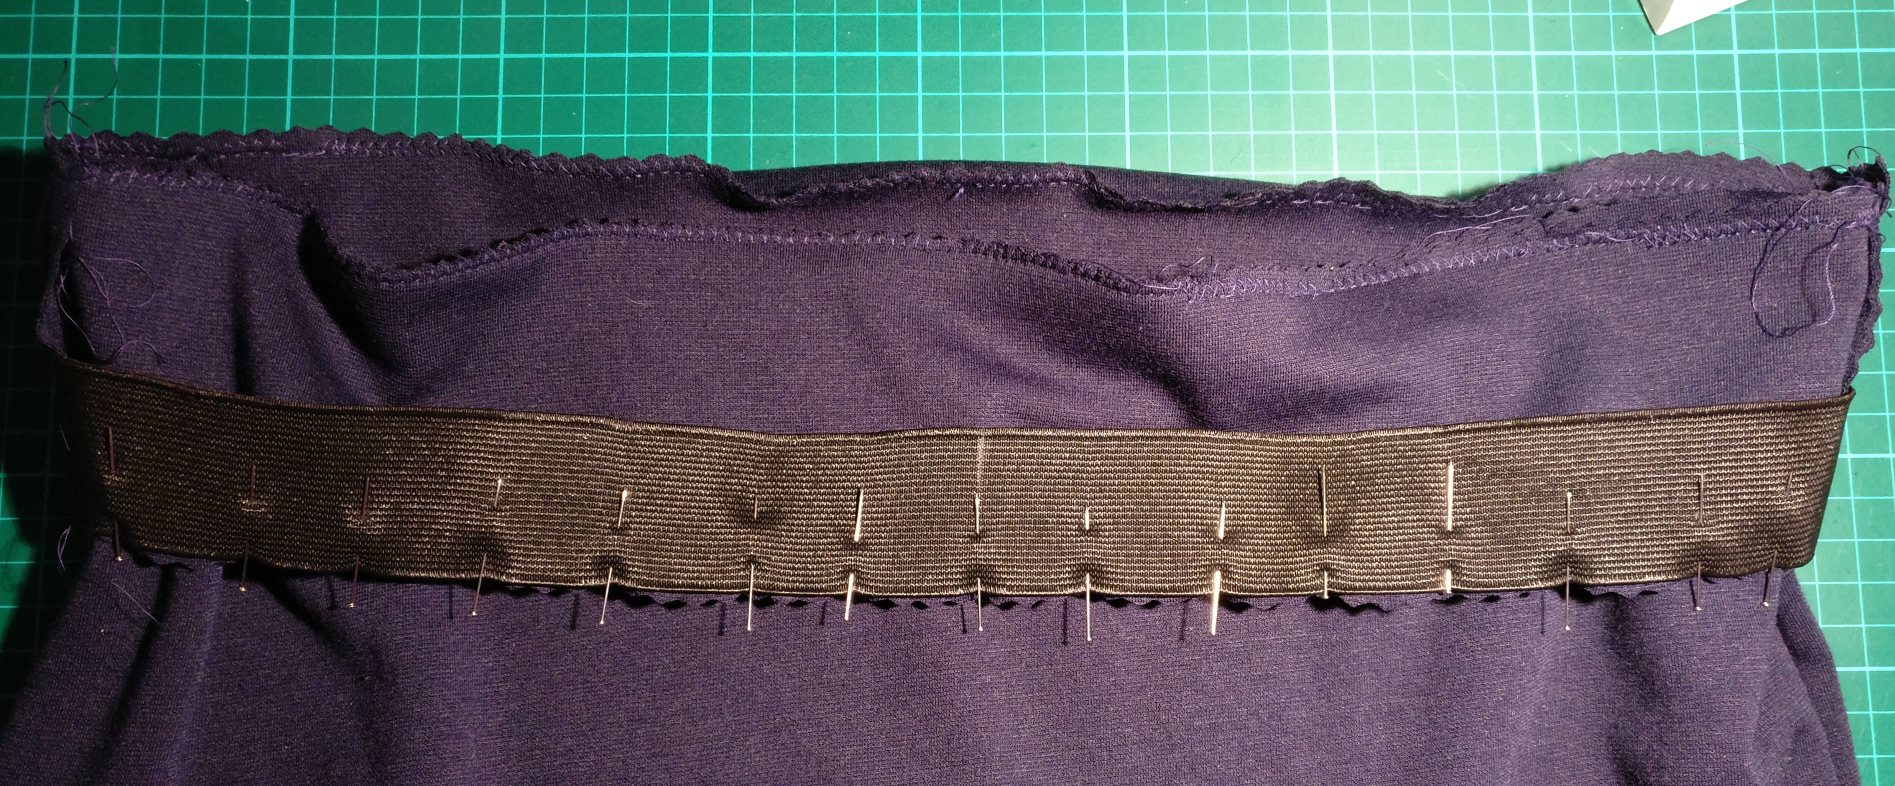
I was then left trying to finagle the elastic so that it was covered by the waistband. This was rather difficult as in the instructions it states that the elastic covers the waist seam – but this didn’t look right to me – I thought that the waist seam should sit below the elastic – and it didn’t fit! Consequently the inside of my waistband looks very scruffy. I could go back and redo this, but I’m going to leave it and just consider it a lesson learned. No one else sees the messy side of the waistband, and it’s not uncomfortable to wear so it’s staying as it is.

It was at this point that I noticed that my machine wasn’t configured correctly, and as such, I had to take a break from sewing for a little while. Being unsure about sewing knits at the best of times, I decided to do some simple woven sewing first. Once I did feel brave enough, I tackled the hemming with a twin needle – I love the effect. I managed to tweak the settings so that I got very little tunnelling, and when taken slowly I didn’t get any skipped stitches. I did start hemming at the front of the skirt, and so unfortunately you can find some skipped stitches at the front, but only if you know they’re there! I am also really pleased that the topstitching stayed a nice even distance from the hem.


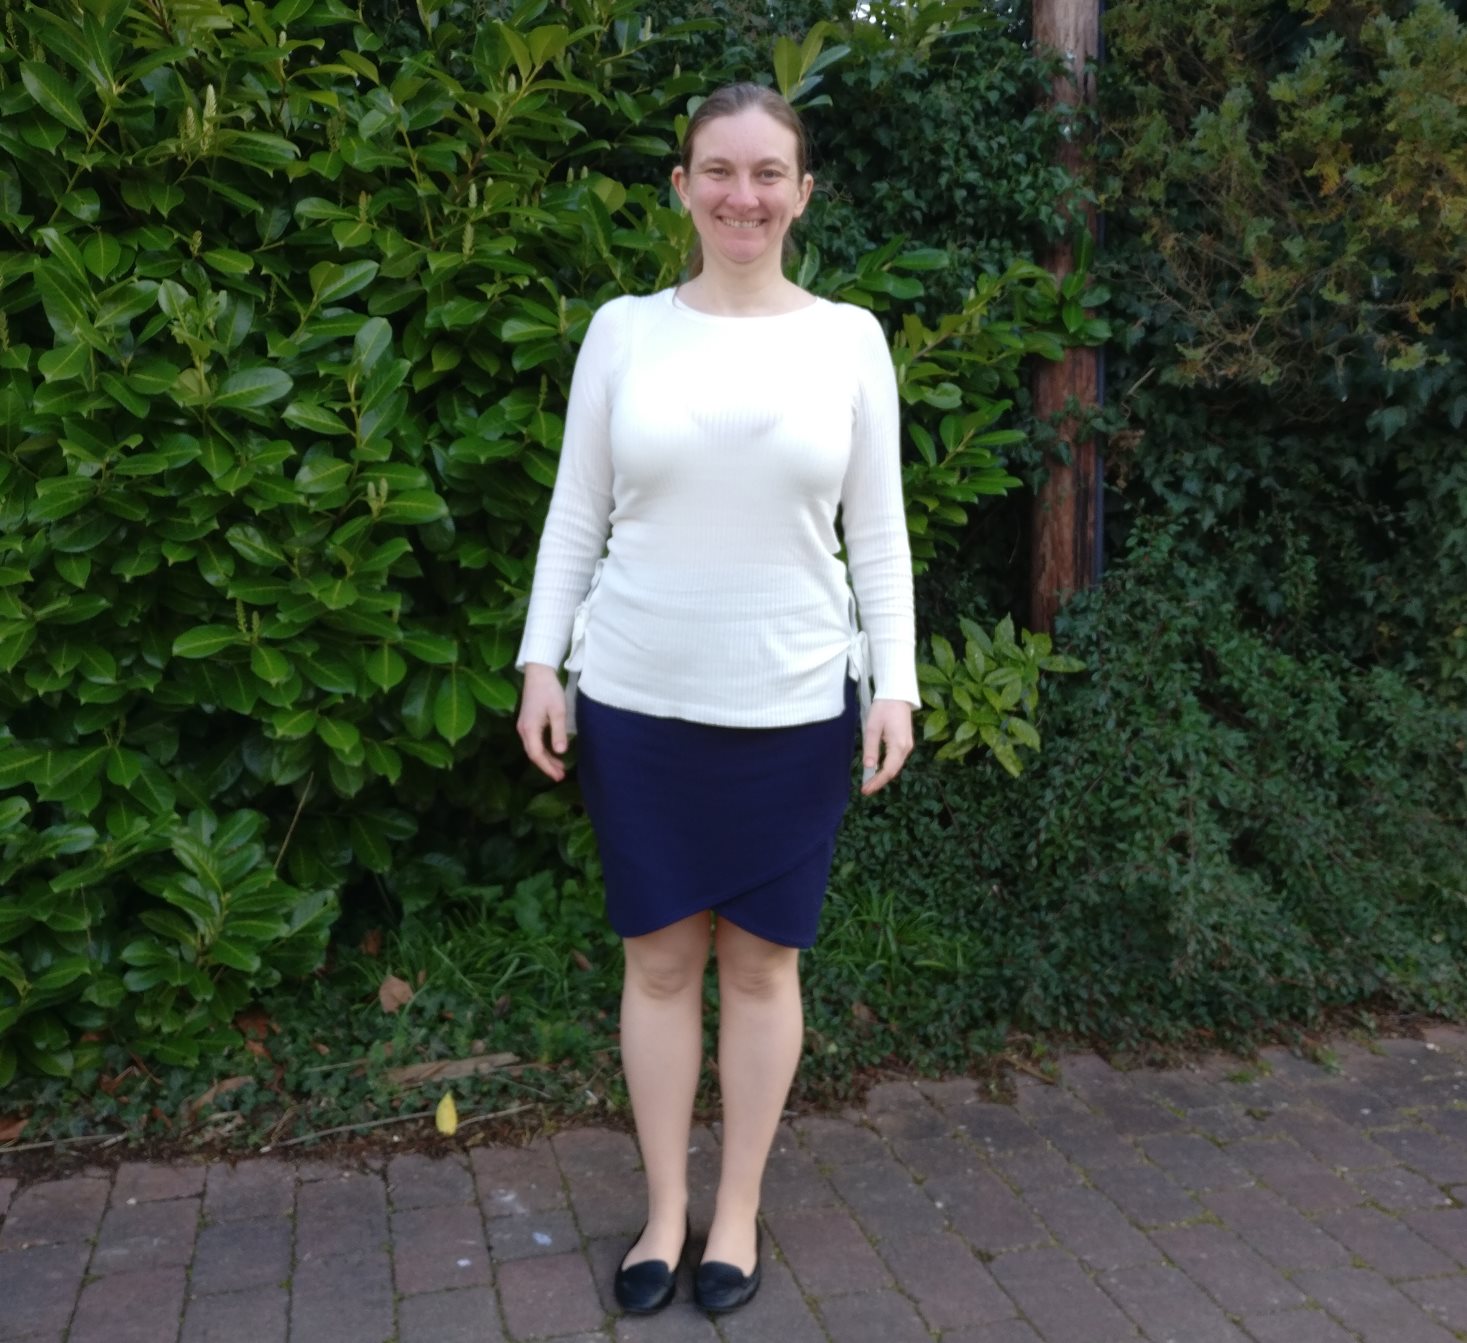
All in all, this skirt was a definite success. I finished making it towards the end of January, and it has already seen a few days at the office, even though I’ve had to take the last two weeks of February off sick following a car accident. This skirt is warm enough to be worn throughout winter, and yet light enough to see me through warmer autumn and spring days, and most importantly the ponte doesn’t need ironing, so I can throw this skirt into my suitcase, schlep about the country for a couple of days, and still look smart enough to do a presentation when required – it doesn’t get much better than that 🙂 I can definitely see more of these in my future, and if I’m feeling really brave one day, I’d quite like to add a knit top to this and make it into a dress…the possibilities are endless!