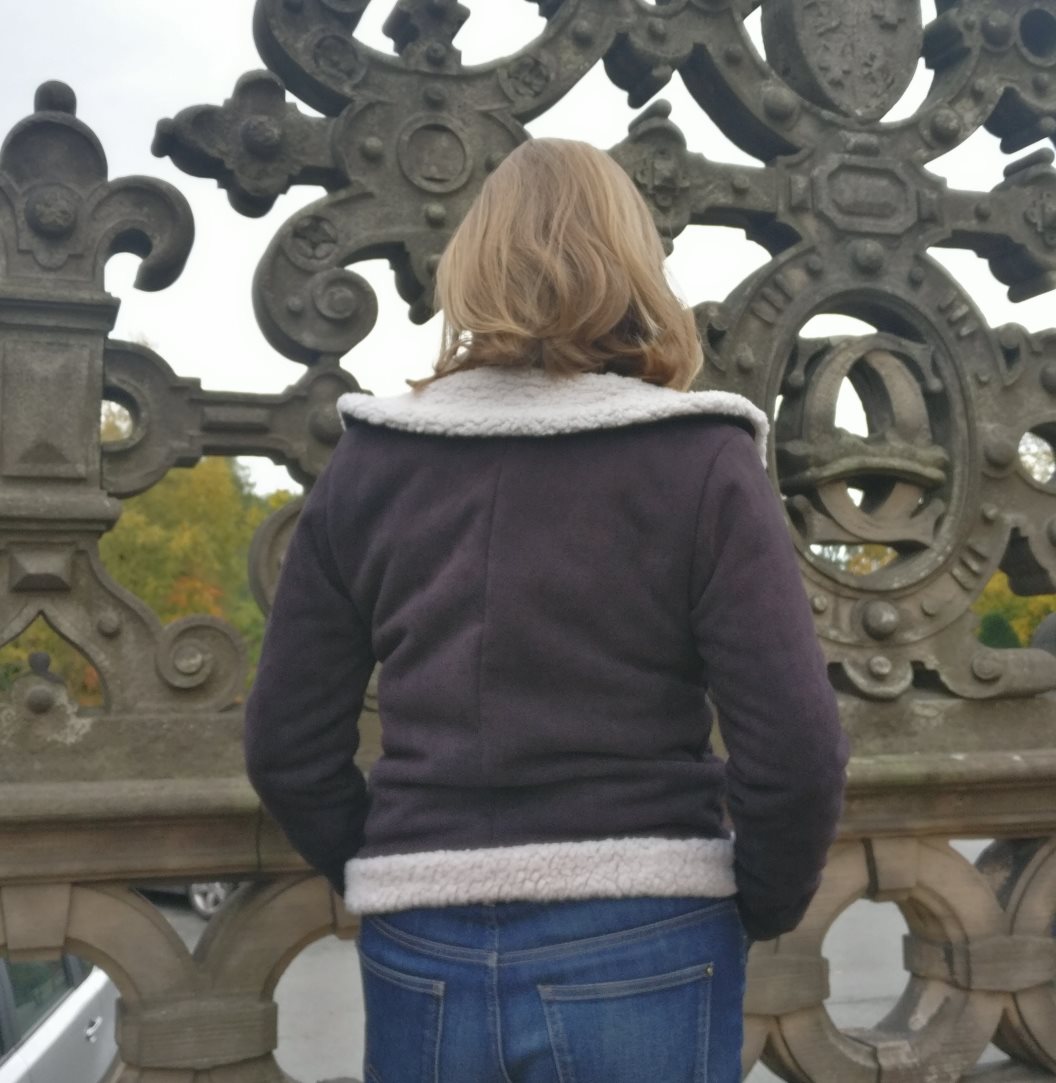
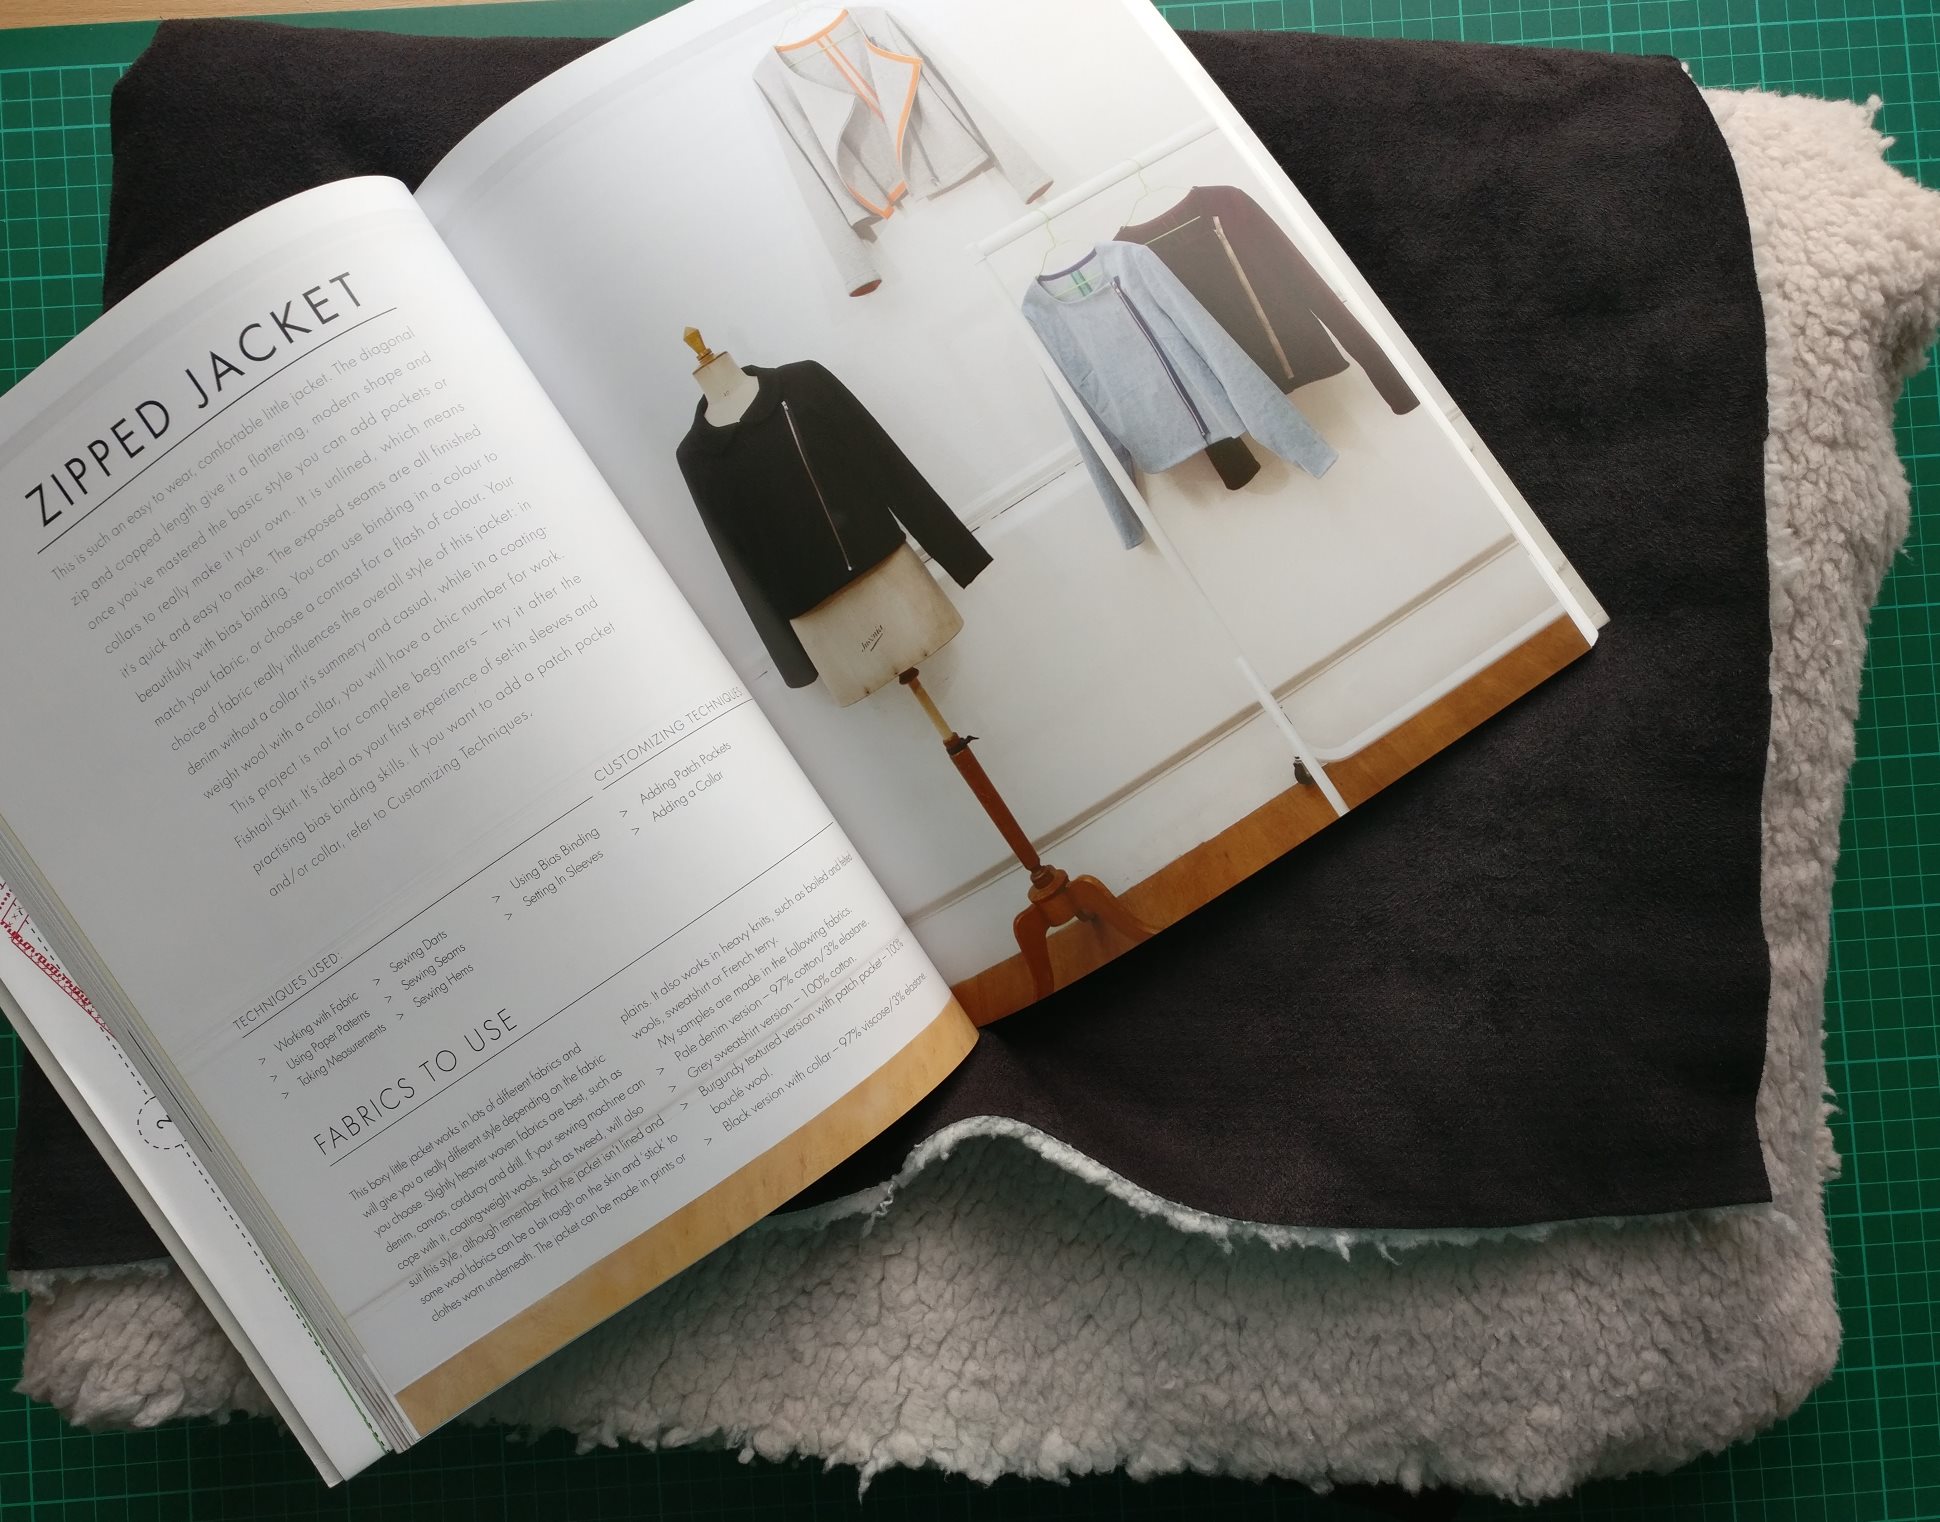
About 15 years ago I owned a gorgeous RTW jacket. It was Faux suede on the outside, and a beautiful soft and warm faux fur on the inside. After much wear that jacket had to be disposed of, but ever since that day I’ve been trying to find a suitable replacement. When I was lucky enough to win a copy of Wendy Wards Beginners Guide to Dressmaking book, I decided that instead of looking for the jacket, I should look for similar material instead. Fast forward a while and I popped into Fabricland in Bristol just for a look around; in there I found this beautifully soft and cosy faux shearling. This material then sat in my stash (taking up a lot of space!) for about a year until I decided that I needed to get over my fear of it and get it sewn up.
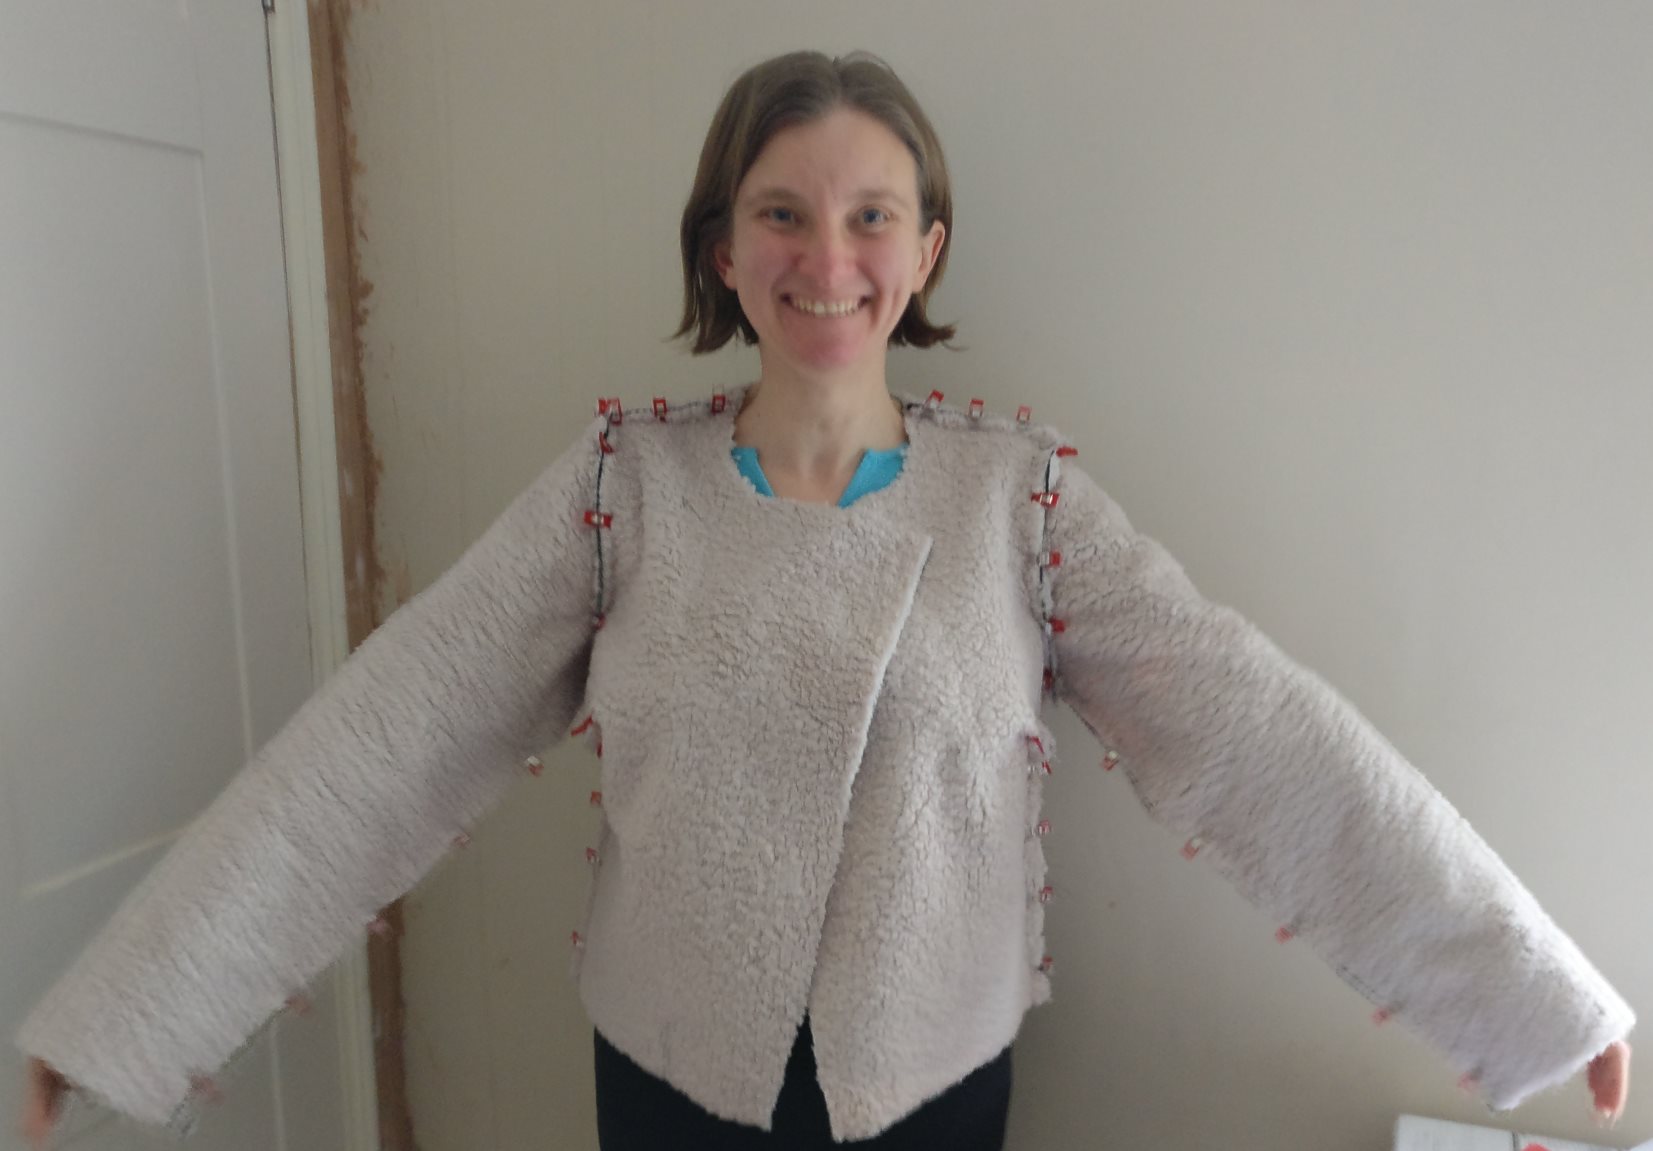
I knew that before I went near the fabric I would need to adjust the fit of the pattern, just from looking at the final garment measurements I could see that I needed an FBA, and a simple measurement showed that I needed to lower the bust dart somewhat! Research showed that I should undertake the FBA first, as this process would naturally lower the bust point slightly, and then lower the bust dart by the required amount to ensure the extra space was where the girls actually require it. This worked out surprisingly well and the tissue-fit made me very happy. (NB – in all the finished photos you can see that the jacket doesn’t appear to fit so well as I had hoped – it actually fits much better than it appears, and it’s just how I’d put it on that day – I’m not going to take more photos to prove it though 🙂 )As such, I cut out the fabric using my altered front pattern piece and started work on the construction. The very first step is to apply interfacing, this is understandable, but in all honesty I took some convincing that thin strips of interfacing would adhere to the fleecy side of the fabric. I spent hours deliberating different ways around this, before my husband asked if I had actually tried to attach interfacing in the normal manner; cue much huffing and puffing from me about how it obviously wouldn’t work…then I tried it, and it did work. I’m still not sure whether I was more happy that it had worked, or more unhappy that I was wrong 🙂
Following that I clipped the fabric pieces together for a quick fitting – I needed to take a smaller seam allowance at the top of the centre back seam, and a larger seam allowance down the arms to the cuffs (I like my cuffs to be relatively tight to prevent draughts!) other than that though we were good to go.
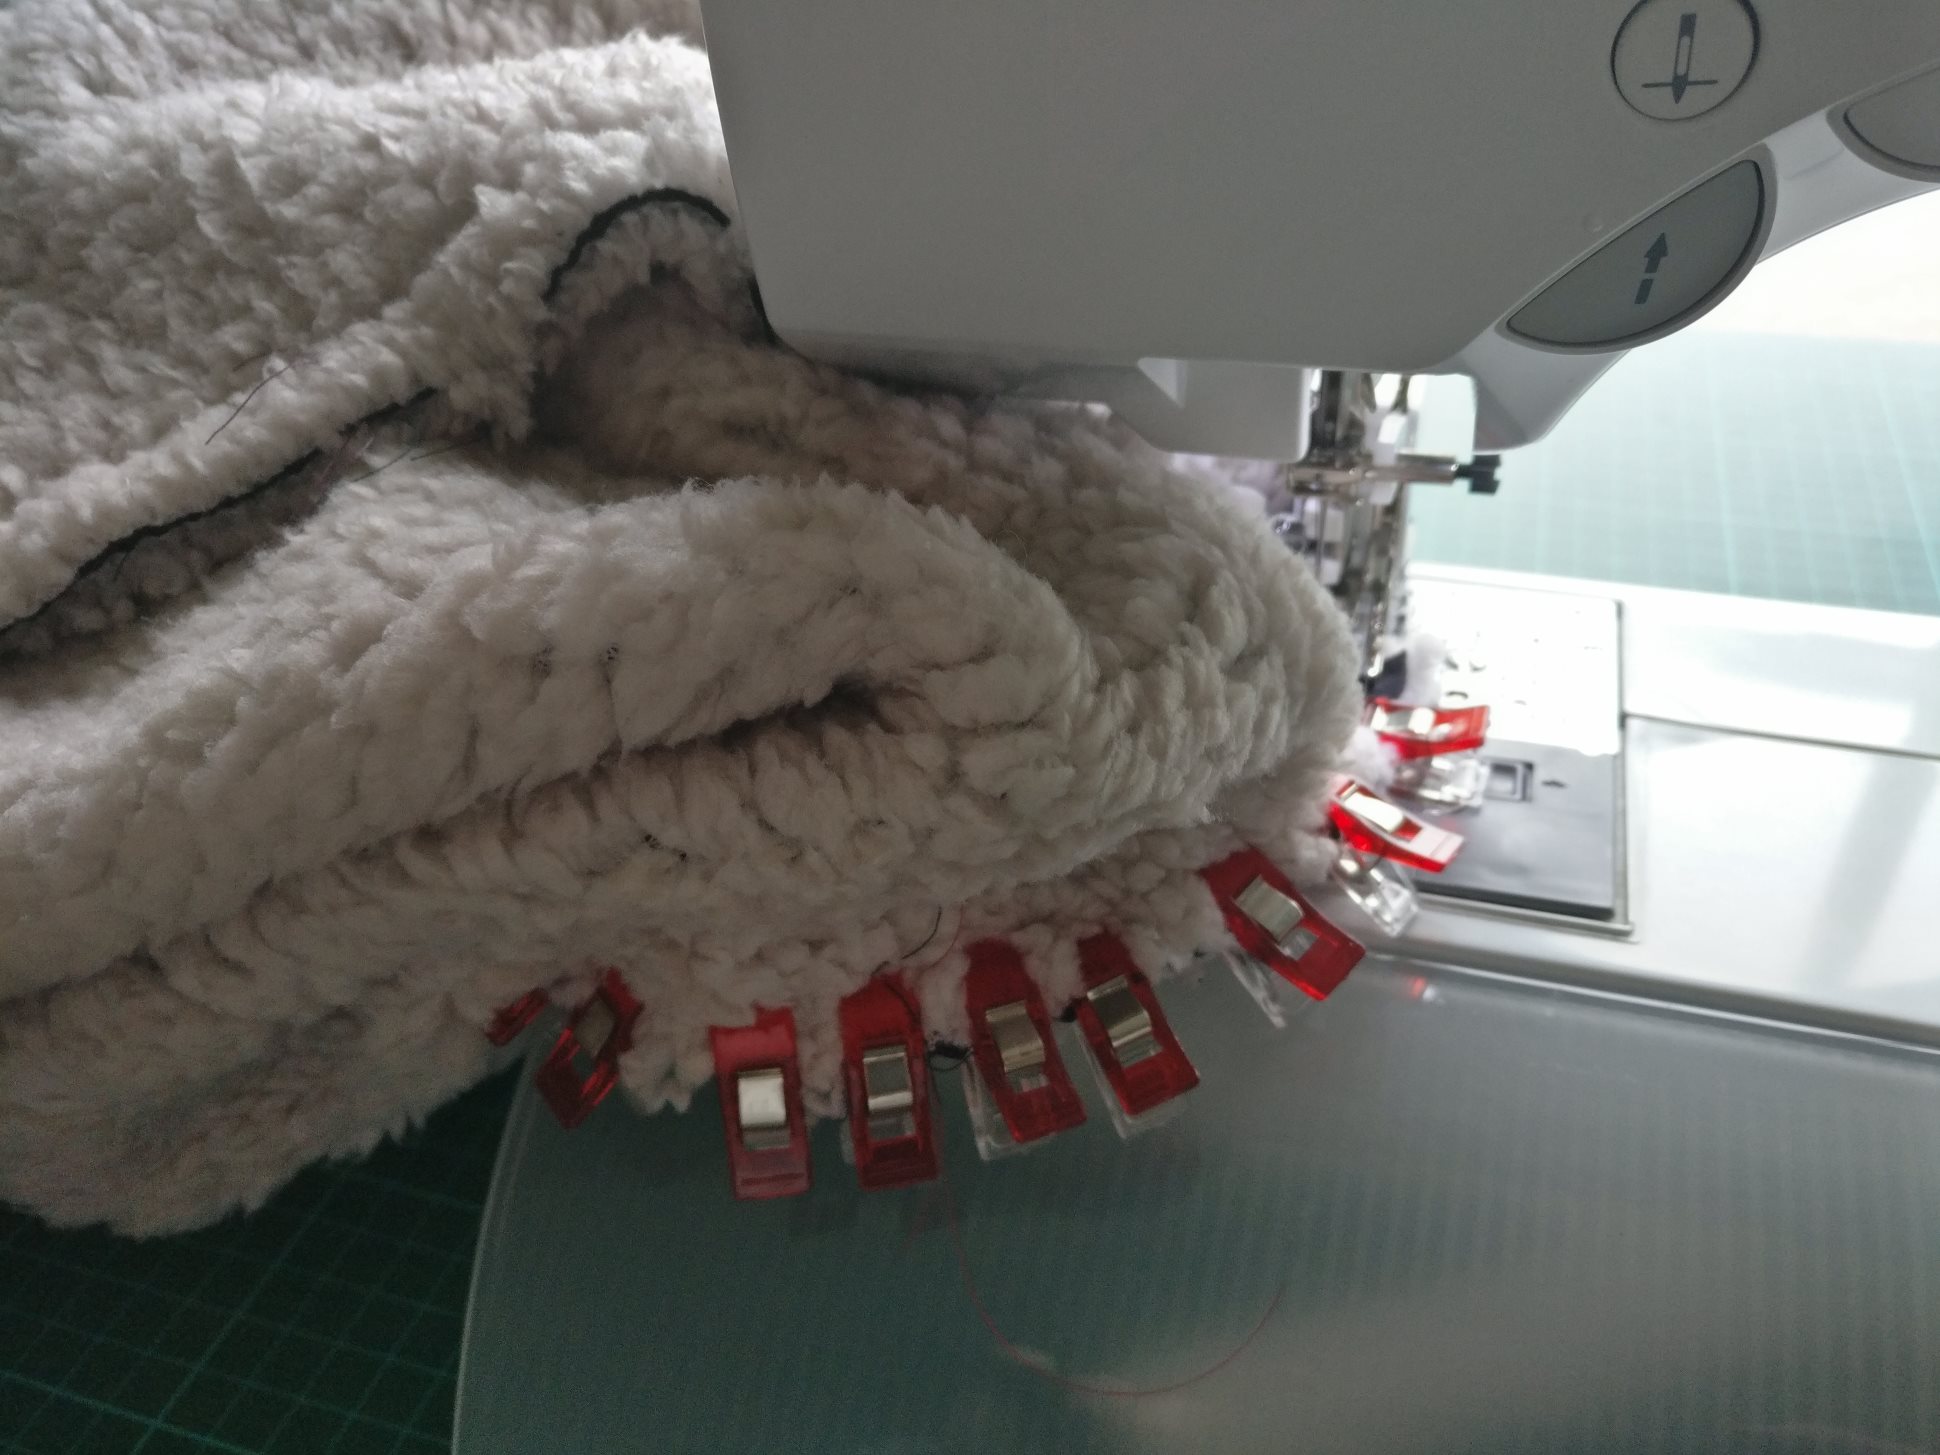
Construction of the pieces was rather more straightforward than I had anticipated – I used my walking foot to help feed the bulky material through my machine and other than the sheer bulk of the fabric at some points, I had no problems actually sewing the material although identifying where the edge of the fabric was, could be tricky!
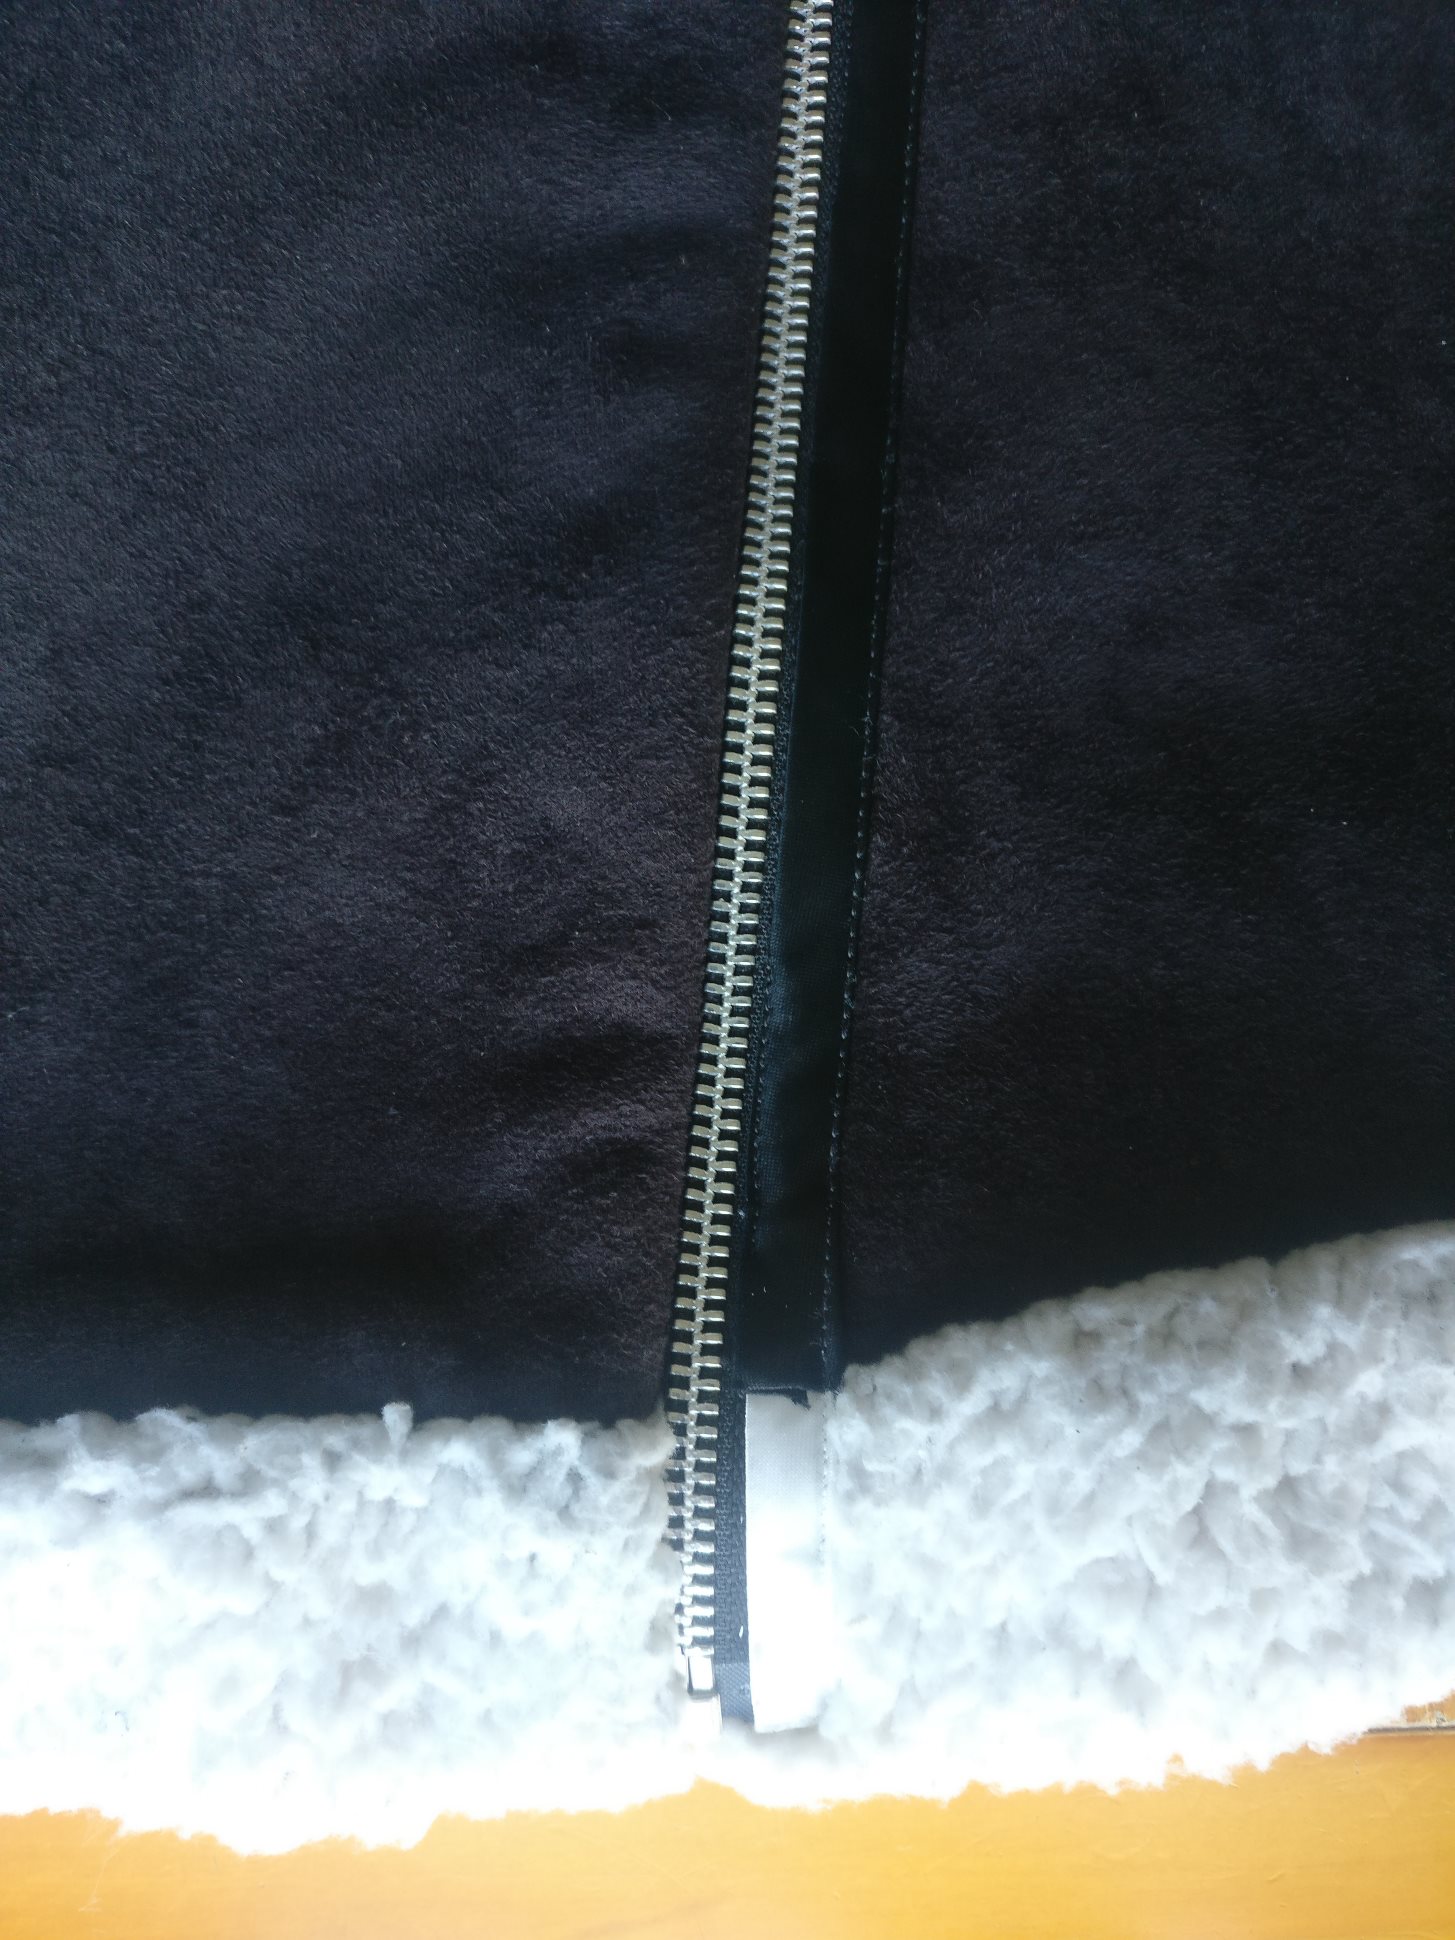
Once the pattern pieces were all together I decided that I actually wanted the jacket to be a bit longer than it was. I debated what to do about this, but ended up adding a contrast band to the base of the jacket. This is literally a 10cm wide piece of fabric, not cut on the bias, which goes around the whole base of the jacket. This is then folded up on itself to give a 4.5cm contrast band at the hem of the jacket. It’s worth noting that with this additional length and the FBA I needed a longer zip than the pattern called for. It’s also worth noting that when the black of the zip was against the suede side of the fabric it looked ok, but with the contrast band, the bottom 4cm of the zip stuck out like a sore thumb against the off-white of the fleecy side. I had intended to bind this visible part of the zip with black bias binding to improve the look, and so I ended up encasing the lower portion of the zip in cream bias binding. Getting the black binding to overlay the cream at exactly the right point turned out to be far more fiddly than it had any right to be, but I am happy with the end result.
Bias binding the seams took a considerable amount of time. To be honest, I think that it would have been easier if I’d done it before I added the contrast band at the bottom, but for a lot of the seams I’d probably bind the edges before constructing the jacket next time, especially with such a bulky fabric. I’m pleased with the result though. I’d originally wanted to use a contrast colour for the binding, to give the inside a bit of colour, but the colours didn’t seem to work against the off-white of the fleecy side, so I went with black in the end. I’m glad I did, because I’d not really thought about how it would look around the collar!
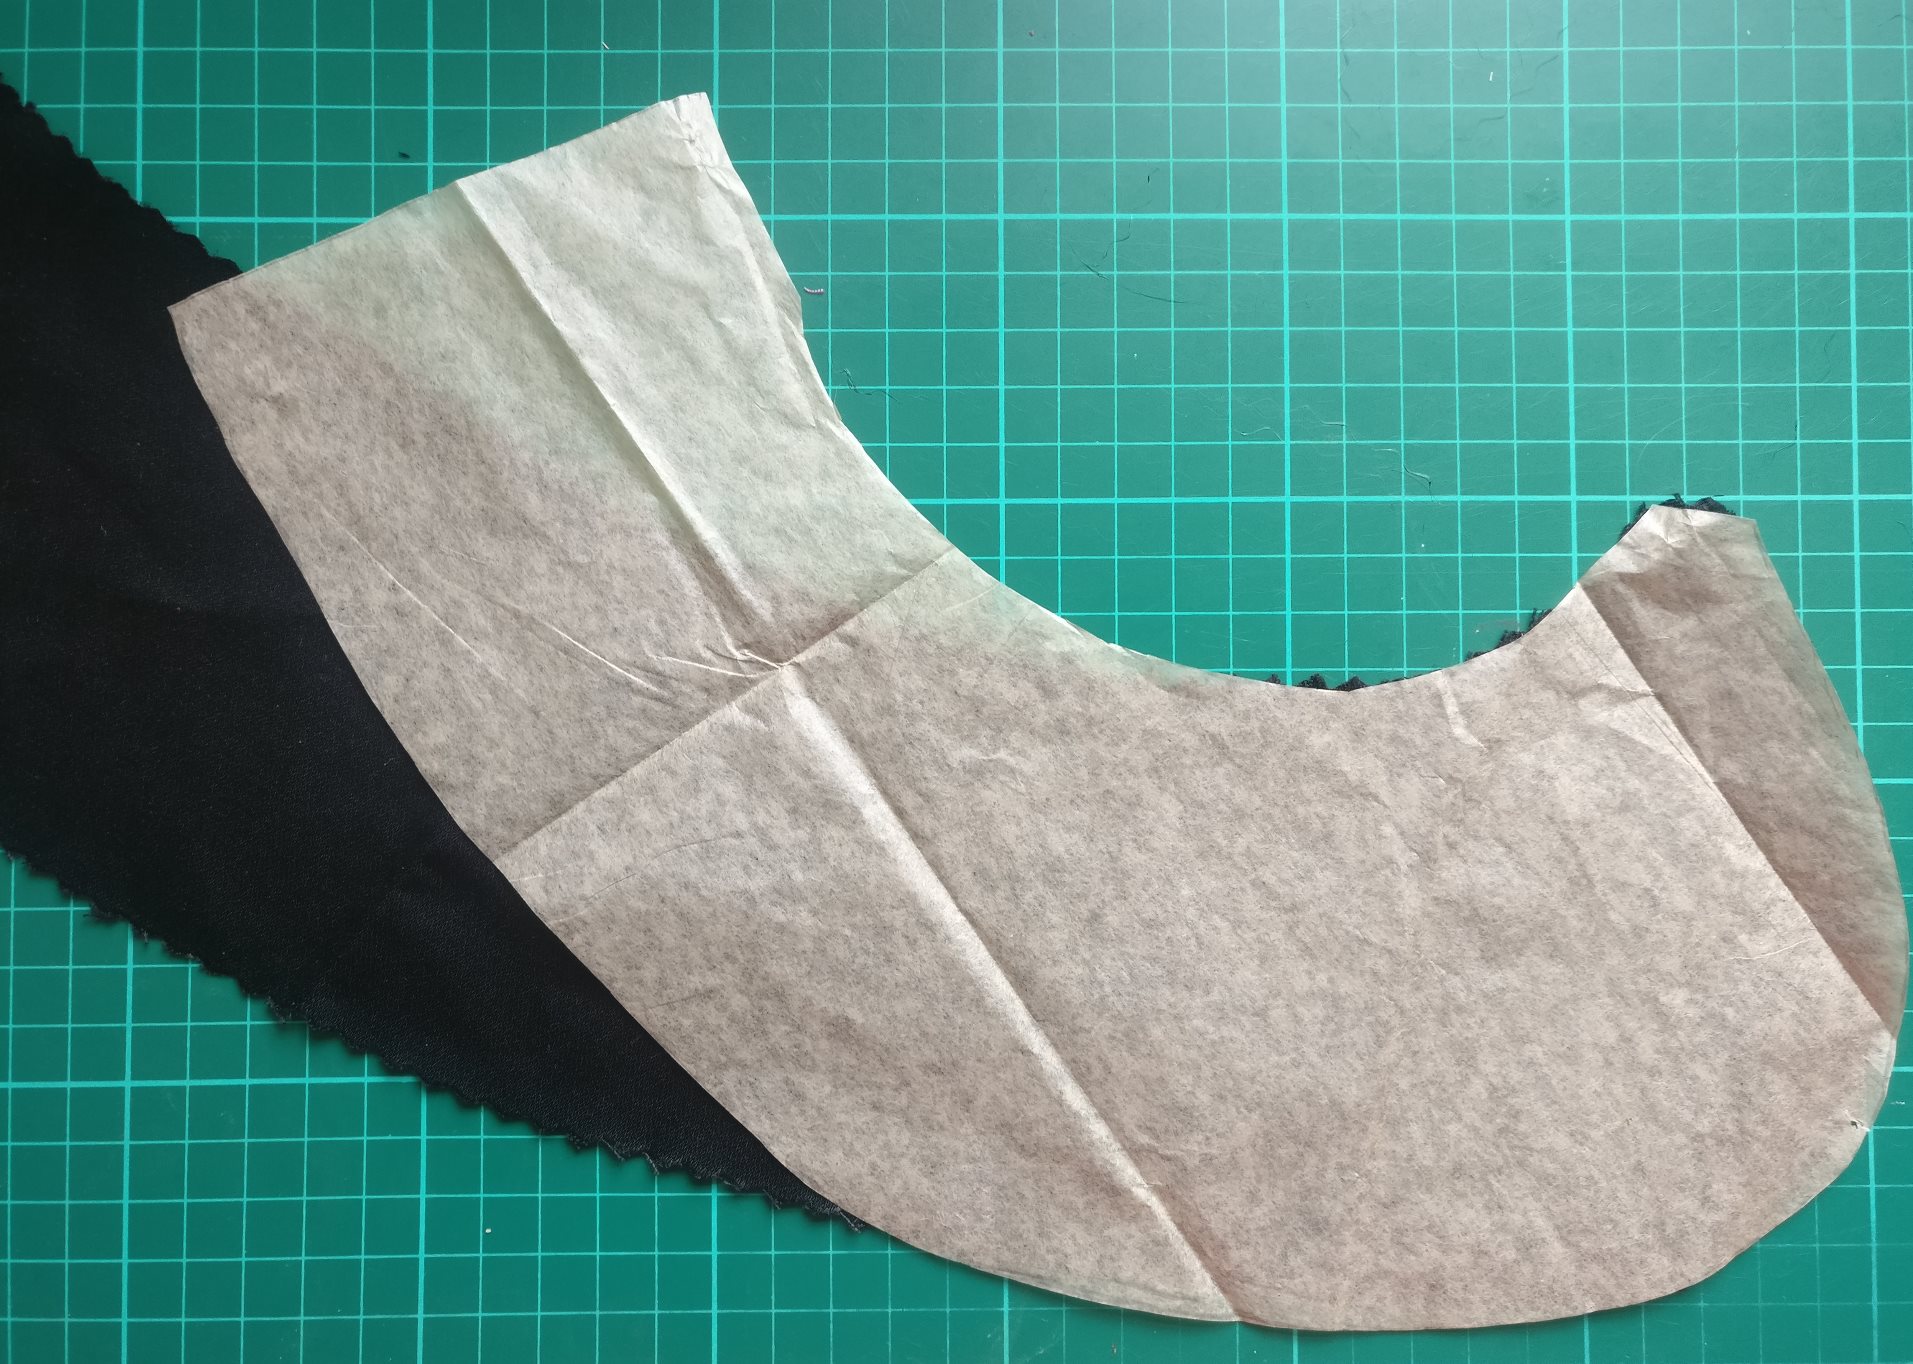
The next step was the collar; I found this much trickier than I’d anticipated. I’m not sure why, but the pattern piece didn’t seem to fit for me. This is probably because of the FBA and also the narrower seam allowance at the top centre back. I also made this more complicated for myself, because I am much more likely to wear this with more of a V-neck, than completely zipped up. As such, I wanted the collar piece to not meet at the centre of the neck. These issues resulted in me having to basically re-draft the pattern piece, which, to cut a long story short, assisted in the nearly-completed jacket standing on my dress-form for approximately 6 months.
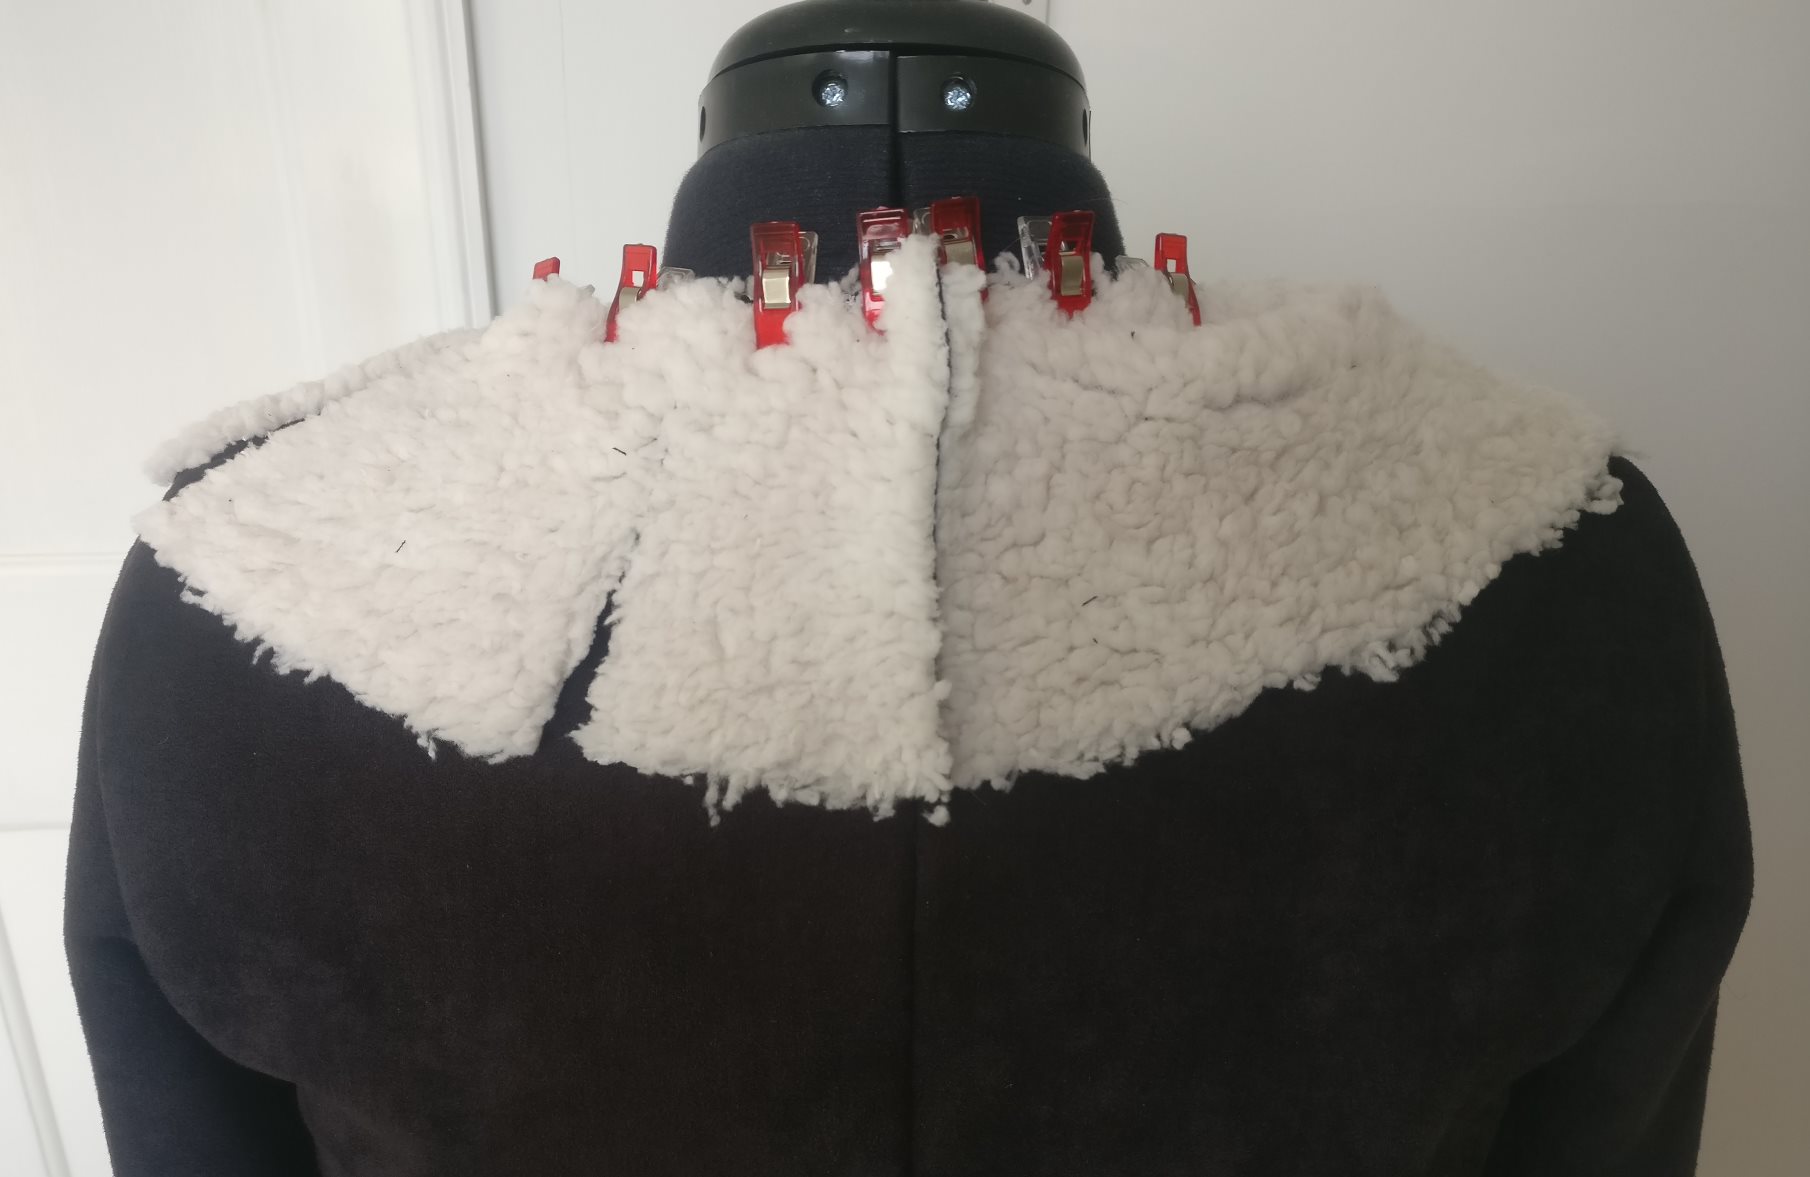
Eventually I built up the confidence to carry out the redrafting, and it was a lot easier than I anticipated. I am happy with the final result. I used some black suedette that was left over from the two GBSB skirts as the under-collar, purely because I thought the thickness of the faux-shearling wouldn’t work well in a double layer!
I have now been wearing this jacket for a few weeks – it is so comfortable and soft, and super-warm.


There have been a couple of days where I’ve closed the zip fully, but on most days I’ve been right to make it more of a v-neck. I am so pleased I’ve made this, and so proud to wear it.