OK, so here’s the thing; I love wearing pyjama bottoms – I’ve reached that stage in life where when I’m home and not entertaining I want to be comfortable. There is just about nothing better in the world than coming home after a busy day and changing out of work clothes into pyjama bottoms. You’ll notice though, I’m stressing the bottoms here – I don’t actually find woven pyjama tops all that comfortable, and I’m afraid my favourite pyjama tops are actually long or short sleeved t-shirts that have pilled (I’m pretty certain that’s the official way of saying “gone bobbly”) or are otherwise not suitable for wearing out of the house any longer.
Recently though my trusty RTW pyjama bottoms have started to look a bit scruffy (ok actually they’ve been looking rather scruffy for a while, it’s just taken me a while to actually do something about it!) I had a look through my pattern stash, thinking that I was going to need to modify a pattern for wide-legged or casual trousers or try my hand at one of my mums vintage pyjama patterns. To my surprise, I found that I do actually have a very straightforward modern pyjama pattern- See&Sew B5704. This pattern was given to me by my mother-in-law, and I have to be honest, it’s one that I didn’t think I would ever use, not so much for the bottoms, but the main part of this pattern is a weird hooded nightdress thing.
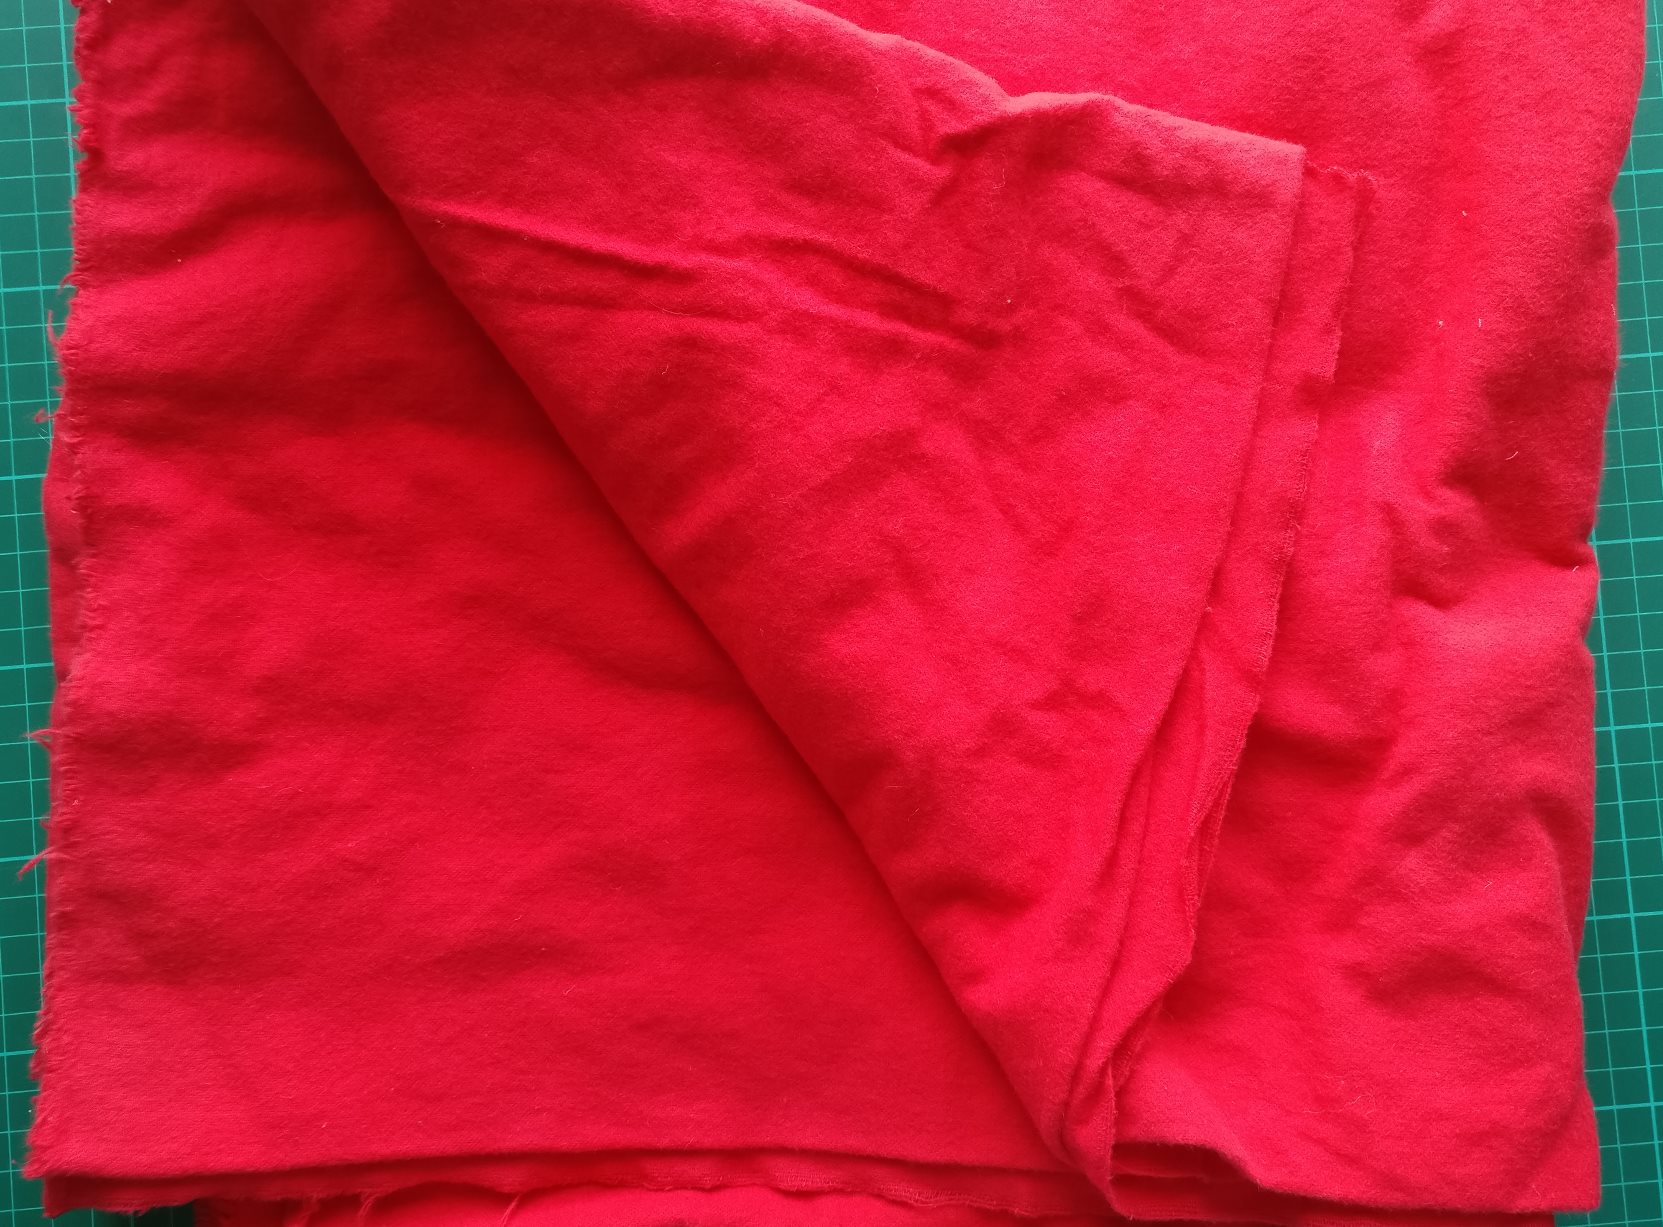
I decided I wanted some lovely soft warm winter pyjamas, and so on a recent trip to Bristol I popped into Fabricland to see what they had available. I came home with 3m of bright red brushed cotton winceyette with the intention that I would make two pairs of pyjama bottoms.
Yes, as you may have realised, I actually made these back in chilly February – not in the sunshine we’ve had in May! I wasn’t really sure what size to make with these, I’ve been caught out by some patterns giving a huge amount of ease. Working from my hip measurement, I should have made a large, but by laying my favourite RTW pyjama trousers over the top I could see that this would be too big. I ended up cutting a small as this was the closest size to the pair I already own.
These are a really straightforward make in themselves. I french seamed the inside leg seams and ran a double row of stitches along the crotch seam.
It was at this point in the process that I realised that I wanted a pocket on my pyjamas. in answer to my mother-in-laws question, I keep my phone in my pocket when I’m lounging at home, it’s not necessary if you actually sleep in them! I realised that it would be much harder to stitch it on once the side seams had been stitched closed. I decided not to do anything too fancy for the patch pocket, and copied the style of the pocket from New Look 6090.
Then things got a whole lot more complicated…”adding a pocket, how can that be complicated?” I hear you ask! Well, in itself, it’s not at all complicated, but for Christmas Mr SewSmart had bought me a flower foot for my machine.

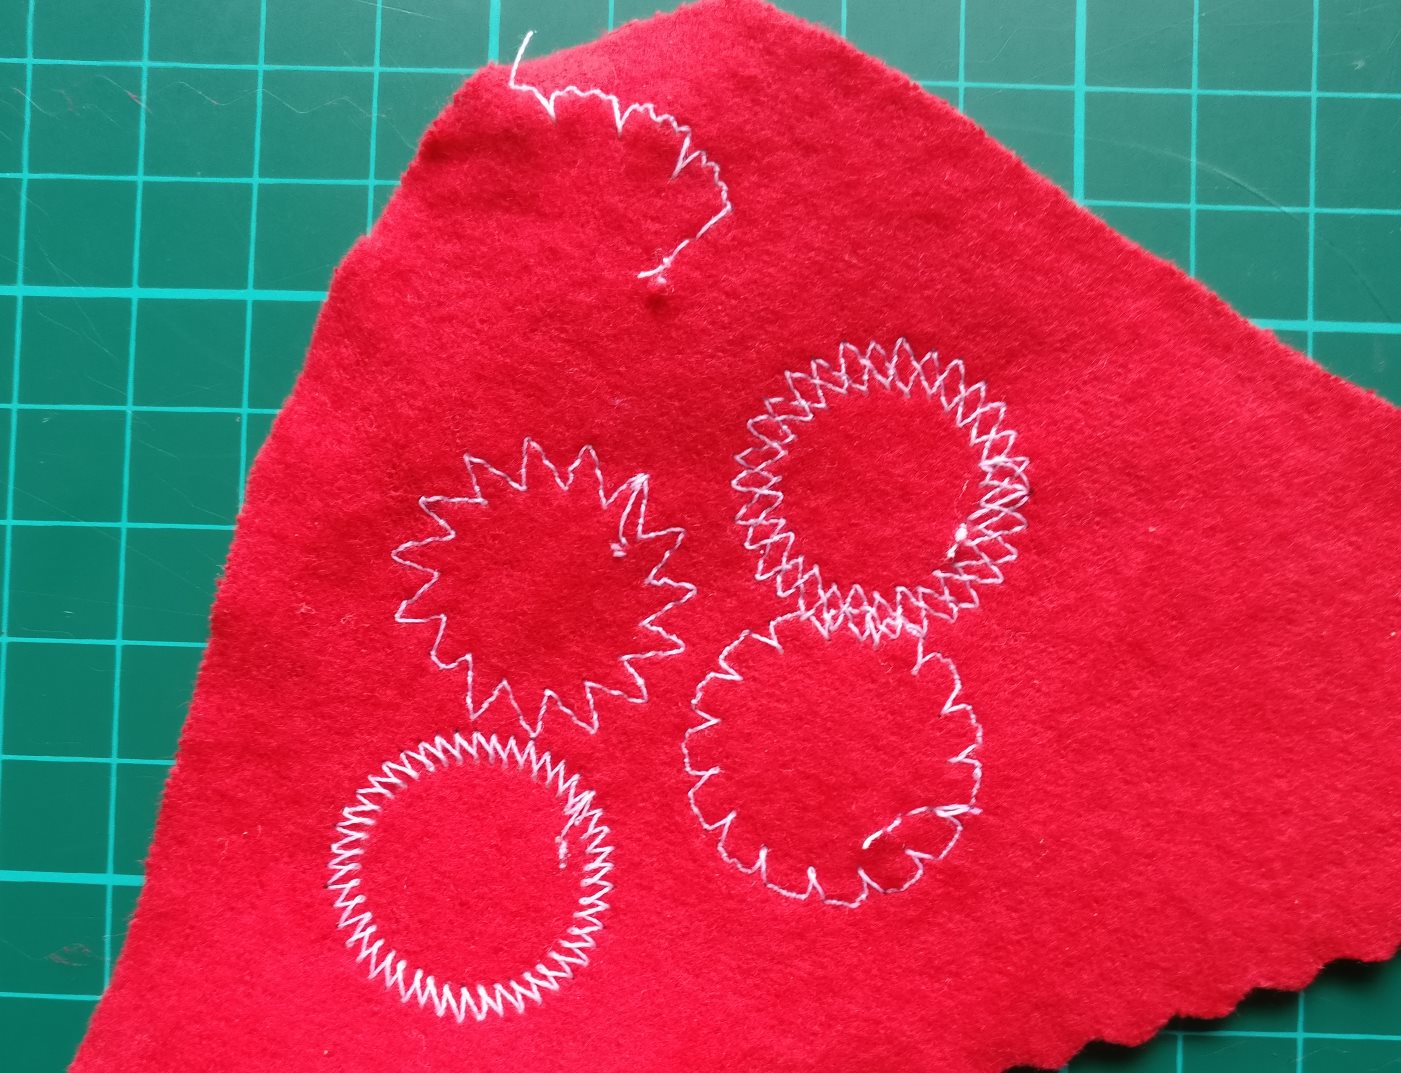
I didn’t even know these existed, or what I would use one for. When I saw in my head the red pocket on red pyjamas, I knew what people used a flower foot for – to put flowers on my pockets! As such, I decided to brave it on a couple of scraps. My first attempt wasn’t very good, and I was rather disappointed.

I had a little think about what might be wrong, and decided that the material shouldn’t look so “bumpy” as it does above, and so I tried using a bit of lightweight fusible interfacing on the fabric. You can see below that the results are much better.
So, I interfaced the back of the pocket piece, and then set to work. I was pretty certain the flowers wouldn’t come out identically, and so I wanted to make it clear that they weren’t supposed to be, by using different stitches and different colour threads. NB, I just used normal polyester thread, not embroidery thread. To sew the stems and leaves I used a decorative stitch from my machine – I have three or four that would do for this, and I did consider using different ones for each flower, but I thought that may make it a bit too busy.

As you can see from the picture above, it came out pretty well – I don’t think it will win any awards, but I’m really pleased with it 🙂
The next step was to attach it to the pyjamas, but first I had to determine where it should be placed. I did this by the simple process of pinning the side seams, wearing the pyjamas, and then placing my hand in a comfortable position…I then drew around my hand with my tailors chalk. I topstitched the pocket over the chalk mark and then moved on to the side seams. The small size would have been just a little too tight with french seams, so I decided to use a standard seam with a 1cm seam allowance, rather than the usual 1.5cm.
On my RTW pyjamas there is a nice wide elastic waistband. See & Sew 5704 uses a casing with a narrow elastic, but I decided this wasn’t what I wanted. As such, I attached the elastic to the pyjamas in the way recommended by the Lindy Petal Skirt (only this time I did it correctly!)

In order to make the elastic stay flat and look nicer I decided to add a couple of rows of topstitching. I had read that you could use a normal straight stitch for this, but I was slightly concerned. However, I did as instructed – stretching the elastic such that the fabric was taut, and it worked beautifully. The top stitching is a little bit wobbly in places, but all in all, for a first attempt, I’m pleased with it 🙂

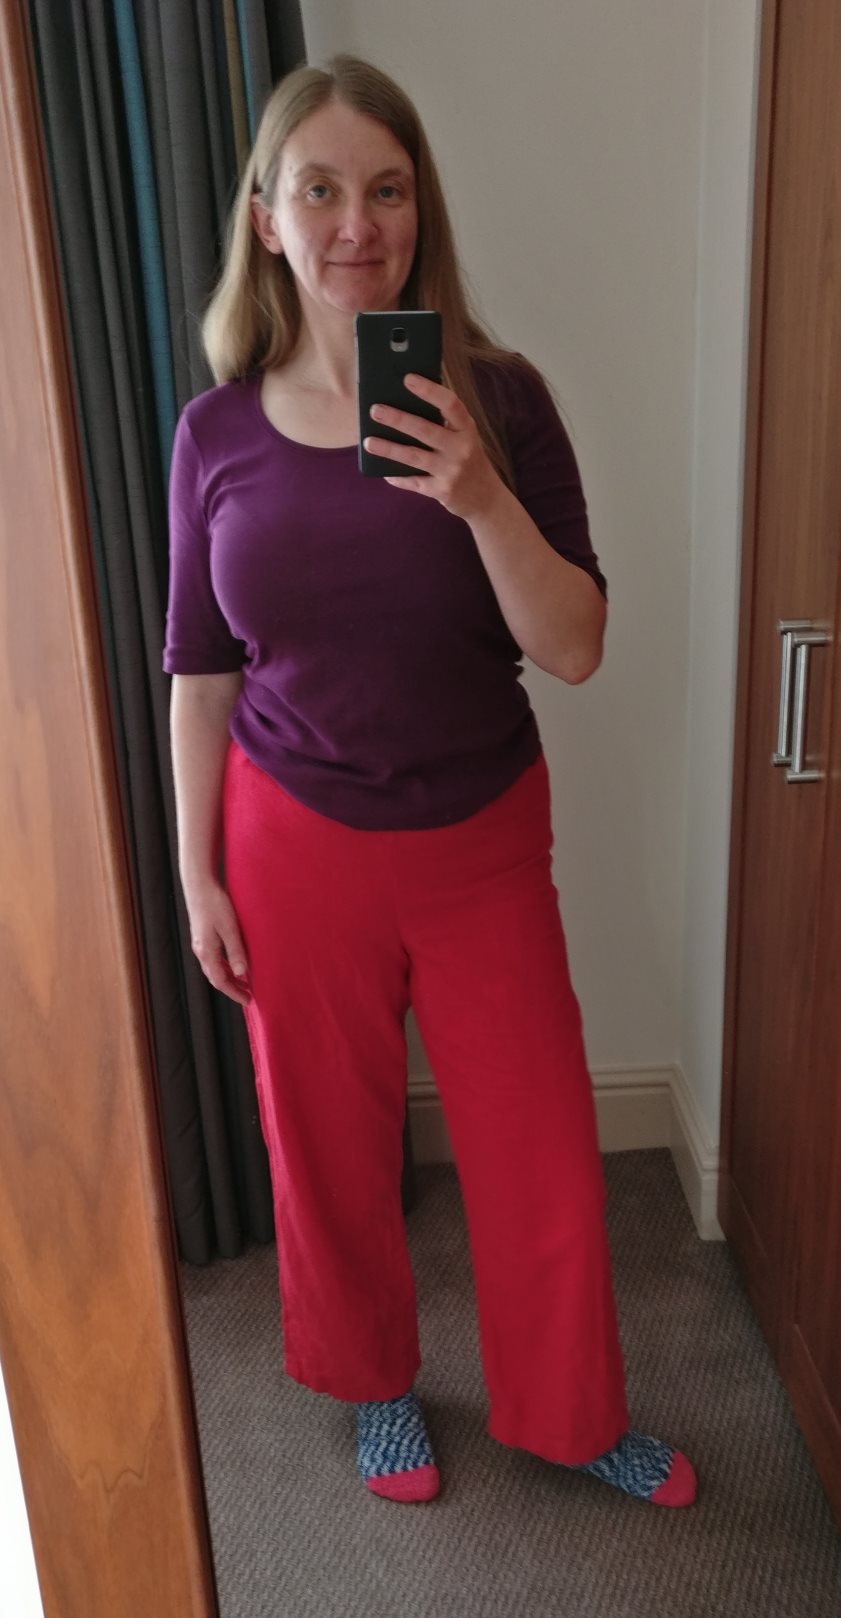
The pyjamas were now almost ready to wear, and all that was required was a hem. I ended up taking about 2.5cm off the length of each leg – I’m 166cm tall, or about 5’5″ if that helps anyone else.

I really love these pyjamas, they fit nicely, and they’re super comfortable. I’ve been wearing them for about 3 months, and the fabric is starting to lose the real fluffy softness and go a tiny bit bobbly, but they’re still beautifully soft and warm. I’ll definitely be making this pattern again – possibly in a lighter material for summer, and then another winter pair, and then another summer pair…you get the idea 🙂