Hi, it’s been a while since I posted here. Sewing has been continuing, but not blogging unfortunately. Anyway, I’m really pleased to say that I’ve completed another project with my Use 5 fabrics. I started off with about 1.5m of beautifully soft drapey t-shirt fabric. I’m afraid I can’t be any more specific than that – I bought it from Abakhan’s from their “T-shirt” fabric basket. I bought the pattern a couple of years ago from Jaycotts, along with a load of other New Look patterns that just happened to be on sale when I was browsing. Unlike everyone else it now appears (just see the number of reviews on pattern review) I wasn’t particularly excited about sewing all the gathers; I bought it because I wanted to have a knit top pattern. When it came to making this top I was slightly concerned that I wouldn’t have enough fabric for view A, but I had more than enough for the simple top, so I decided to chance it, working on the theory that worst case I would end up with shorter sleeves, or possibly a sleeveless top. The one thing I didn’t like about view A was the 3/4 length sleeves. I find I fiddle with 3/4 length sleeves all the time when I wear them, so long sleeves would be ideal, as with a double layer of fabric in the front I didn’t think this would become a summer top.
I cut out the front and back pieces, and then for the sleeves I cut the sleeve head and down to the hem for 3/4 length sleeves, but I didn’t actually cut across the ends of the sleeves – leaving the material intact in the hopes that I could get full length sleeves on this top. I considered lengthening the sleeves at the lengthen / shorten line, but in the end I didn’t. I’m still not sure whether this was the correct approach, but I thought from looking at the pattern piece that you should lengthen or shorten at that line if you have particularly long or short arms to still get 3/4 length sleeves. As I wanted full length sleeves, this didn’t seem appropriate. NB, in the picture below I didn’t actually have the fabric that crumpled when I cut it, although I have to be honest, and say it wasn’t ironed!

The construction of this top wasn’t straightforward to me, but it wasn’t as scary as I first anticipated. I reinforced the shoulder seams with ribbon as for the Prima top, and I used dental floss to gather both the shoulder seams and the side seam as with the Flo dress.
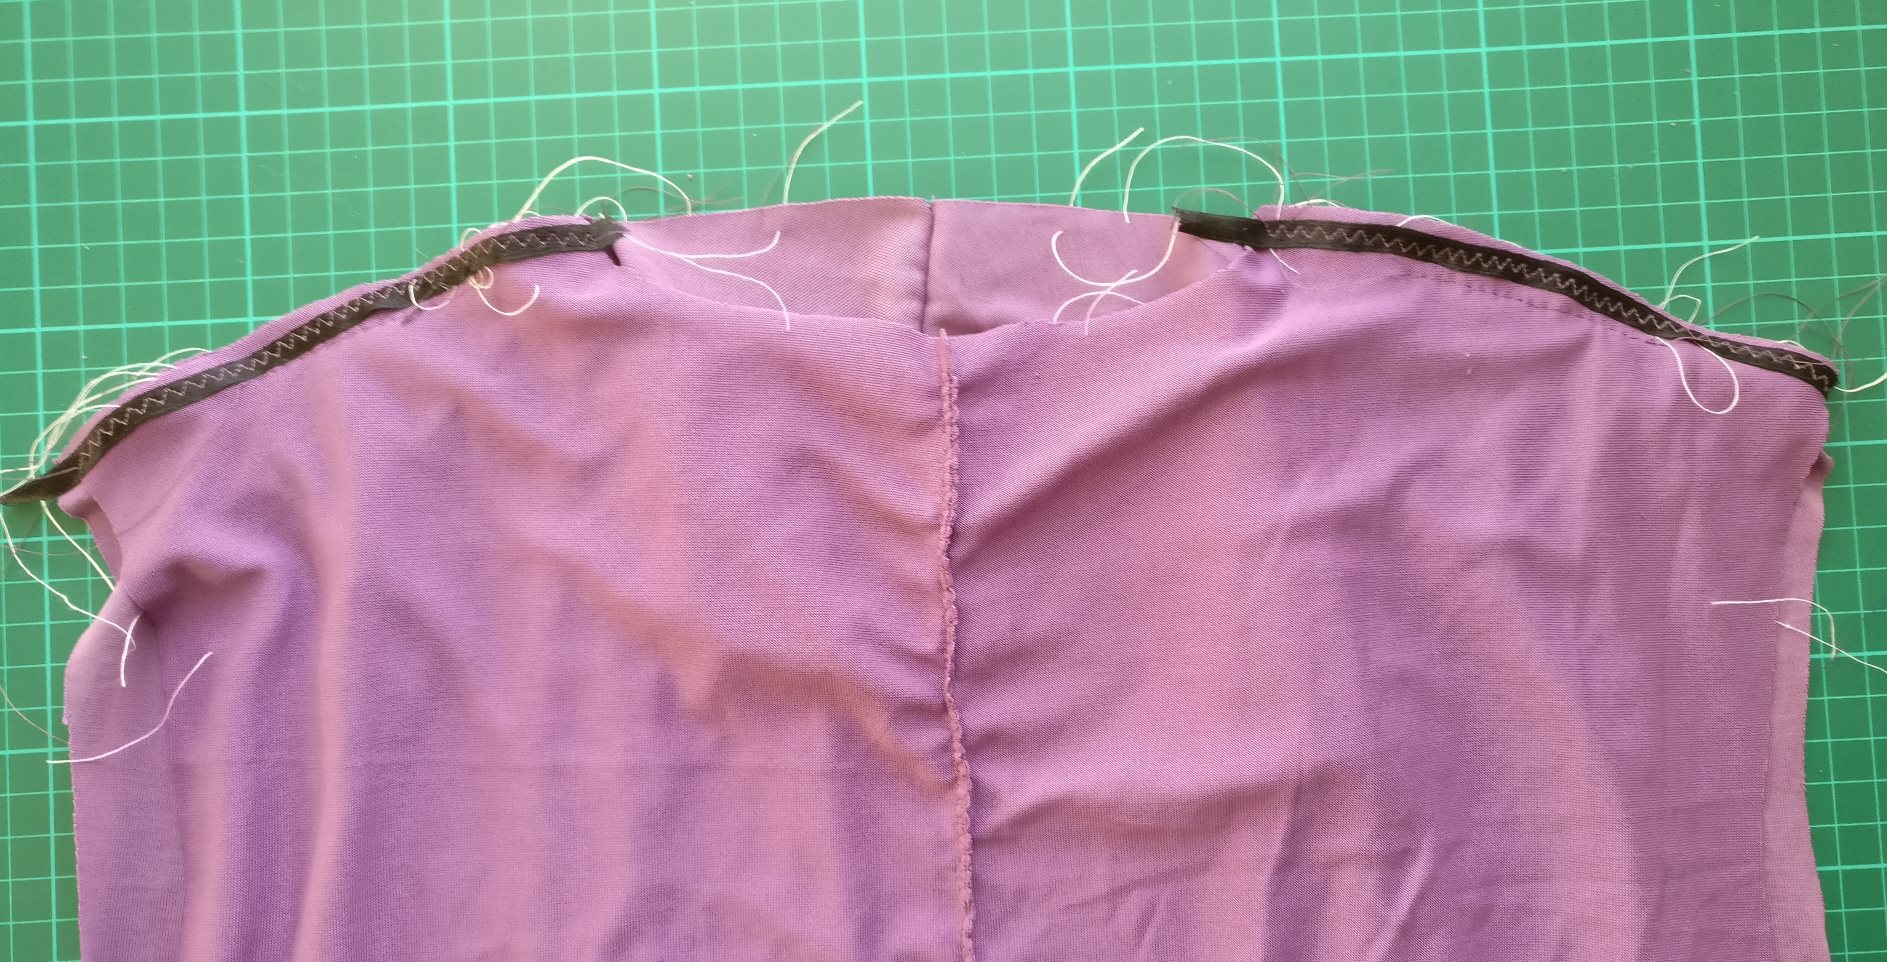
I did get initially confused with the directions to make the pleats and sew the back neckline, but I finally worked it out. If anyone else is struggling, you basically pin the centre back collar and back pieces together, then pin at the marks for the ends of the pleat on each shoulder, and then essentially sew a straight line between these three points. You continue the back neckline seam along to the ends of each pleat.
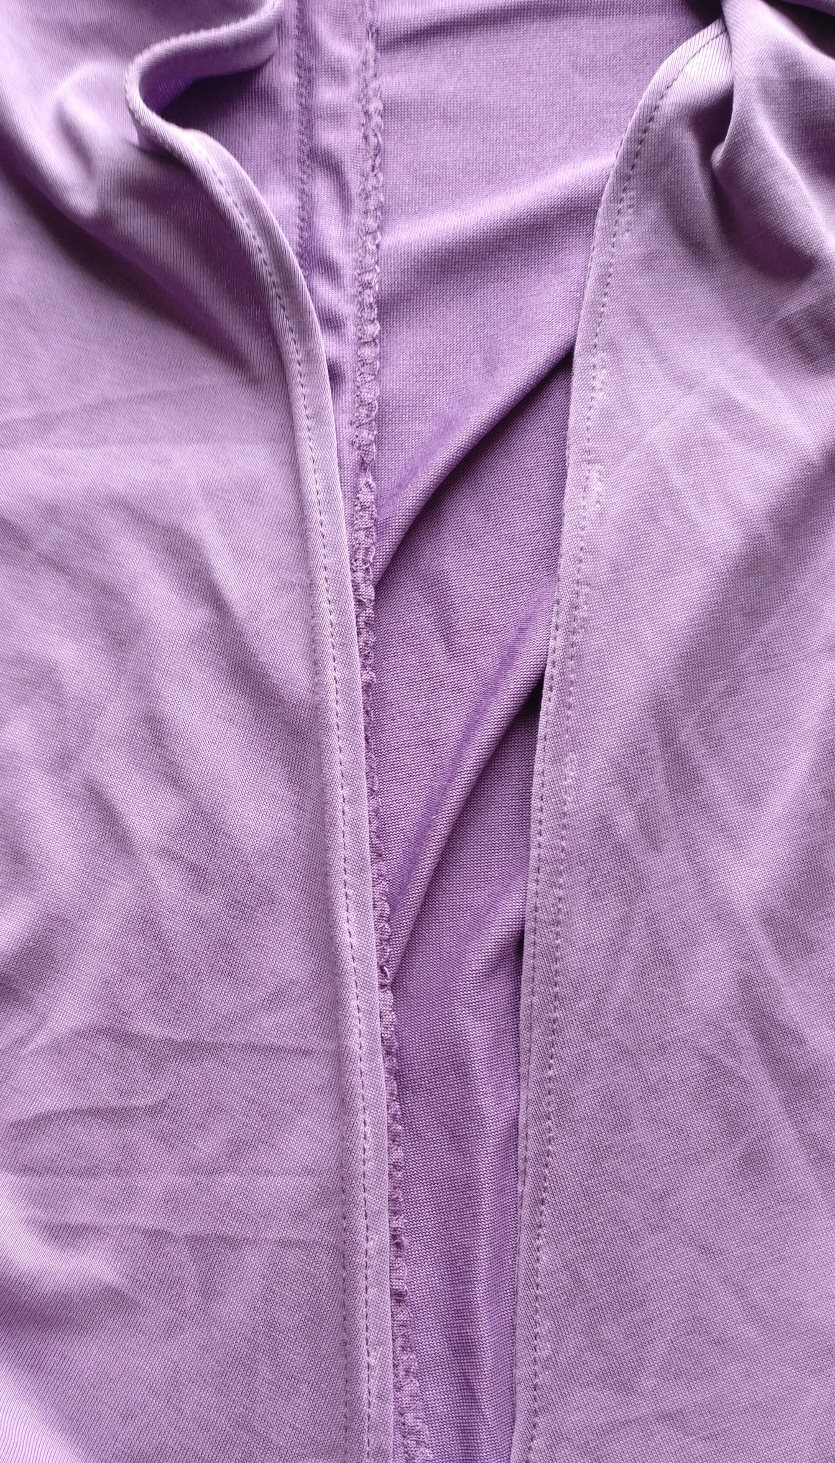
I continued on, following the pattern instructions to hem the collar / top of the front pieces. Having read a few reviews on pattern review since that time, I wish I’d not bothered – as several reviewers commented, it’s not necessary for a knit fabric, isn’t seen, and adds unnecessary bulk. In addition, my hemming here wasn’t that neat, although it did improve along the length of the hem, as you can see below – the right hand side is where I started, and the left was at the end of the run. I suppose in that regard at least I got some practice 🙂
I attached the sleeves in the flat, rather than in the round as described in the pattern. This worked well on the brown knit top I made, but on this top I did get a couple of tiny tucks on the sleeve heads. I briefly considered unpicking them, but I wasn’t really happy that the material would take kindly to being fiddled with, and I wasn’t really convinced I could do better then next time. Added to that I tried the top on and showed Mr SewSmart – he didn’t even notice, so it didn’t really seem worth it. That said, it does really bug me, and I wish I’d fixed it now!
After attaching the sleeve heads, I tried the top on inside out to get an idea of the length for the sleeves. The picture below gives you an idea of what I was dealing with for the sleeves!
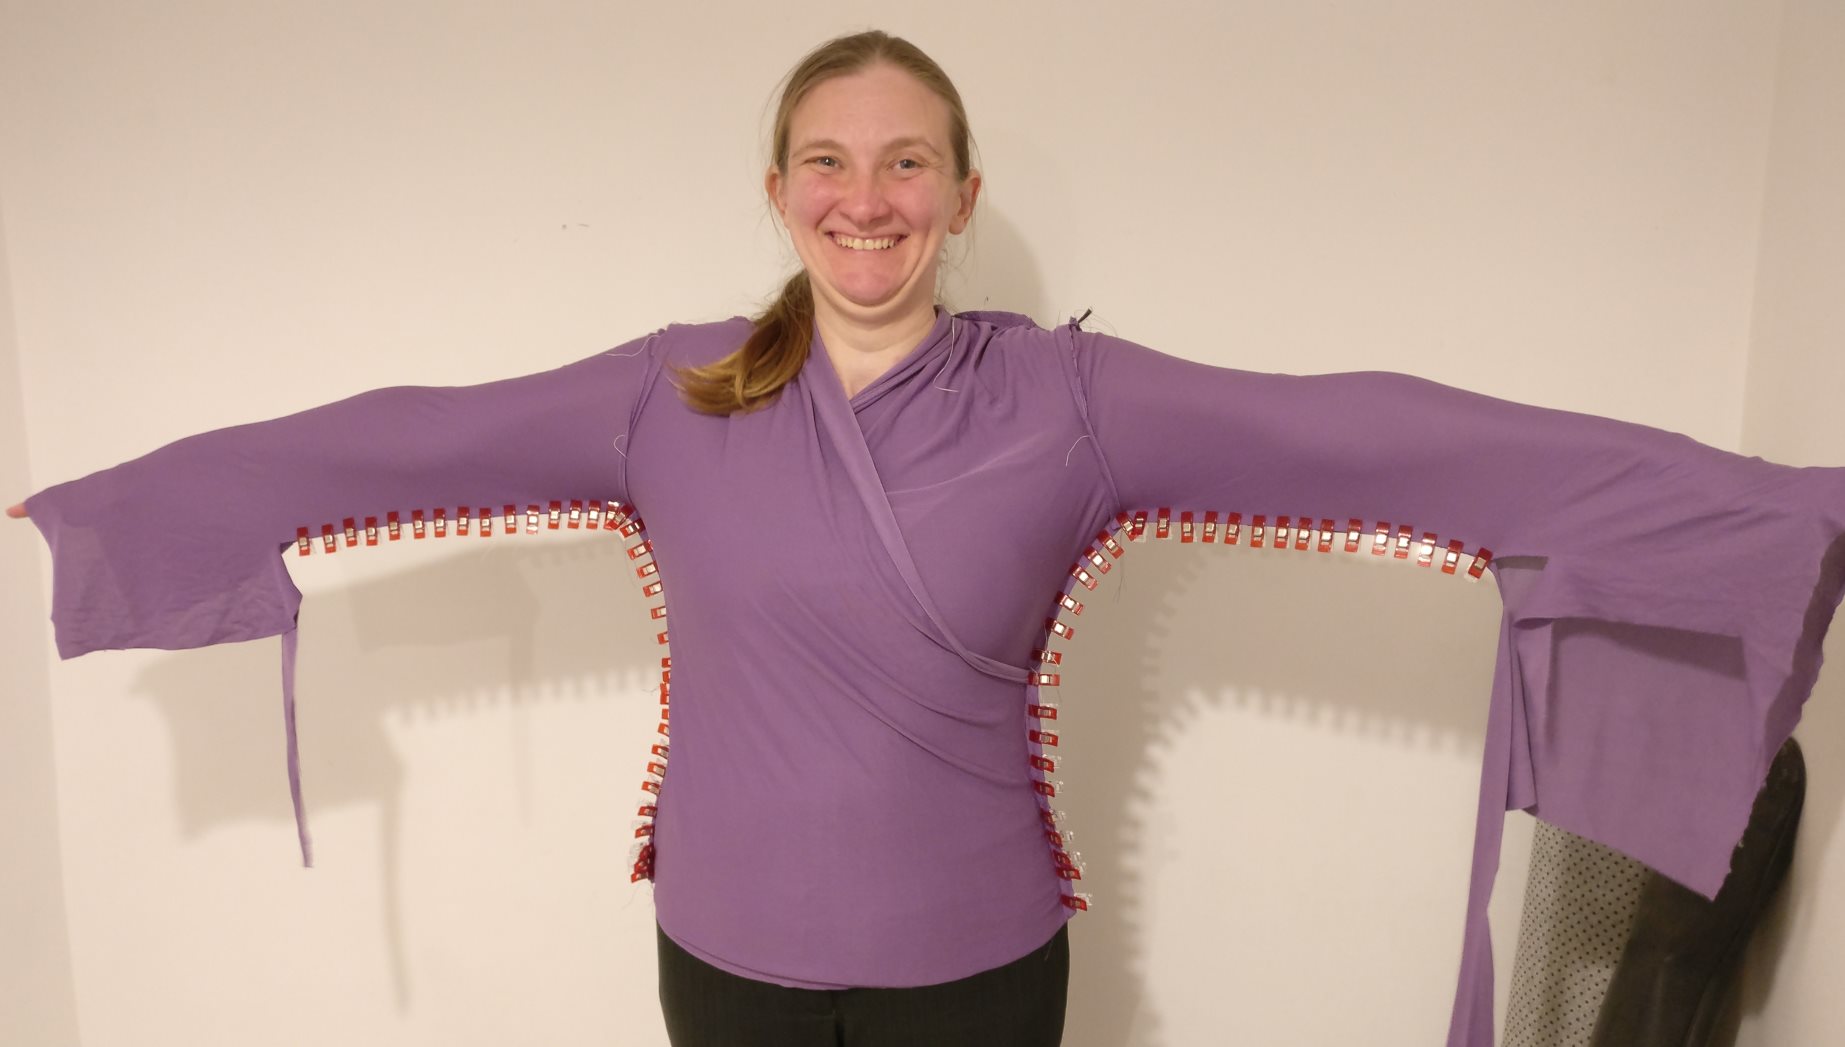
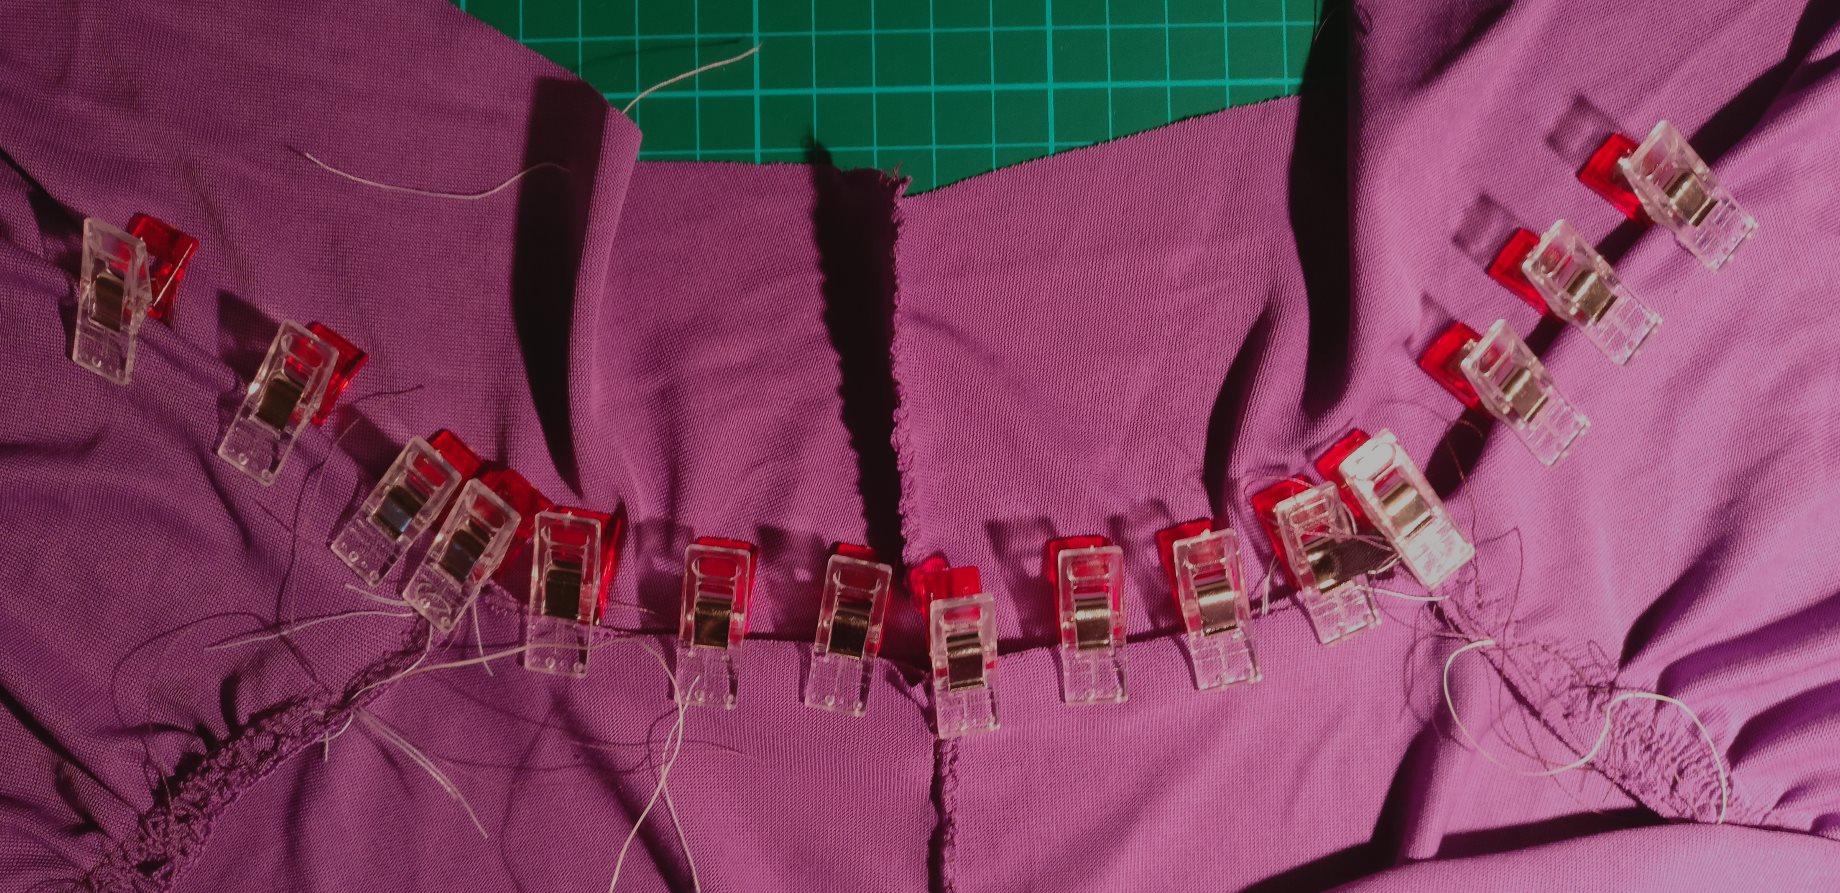
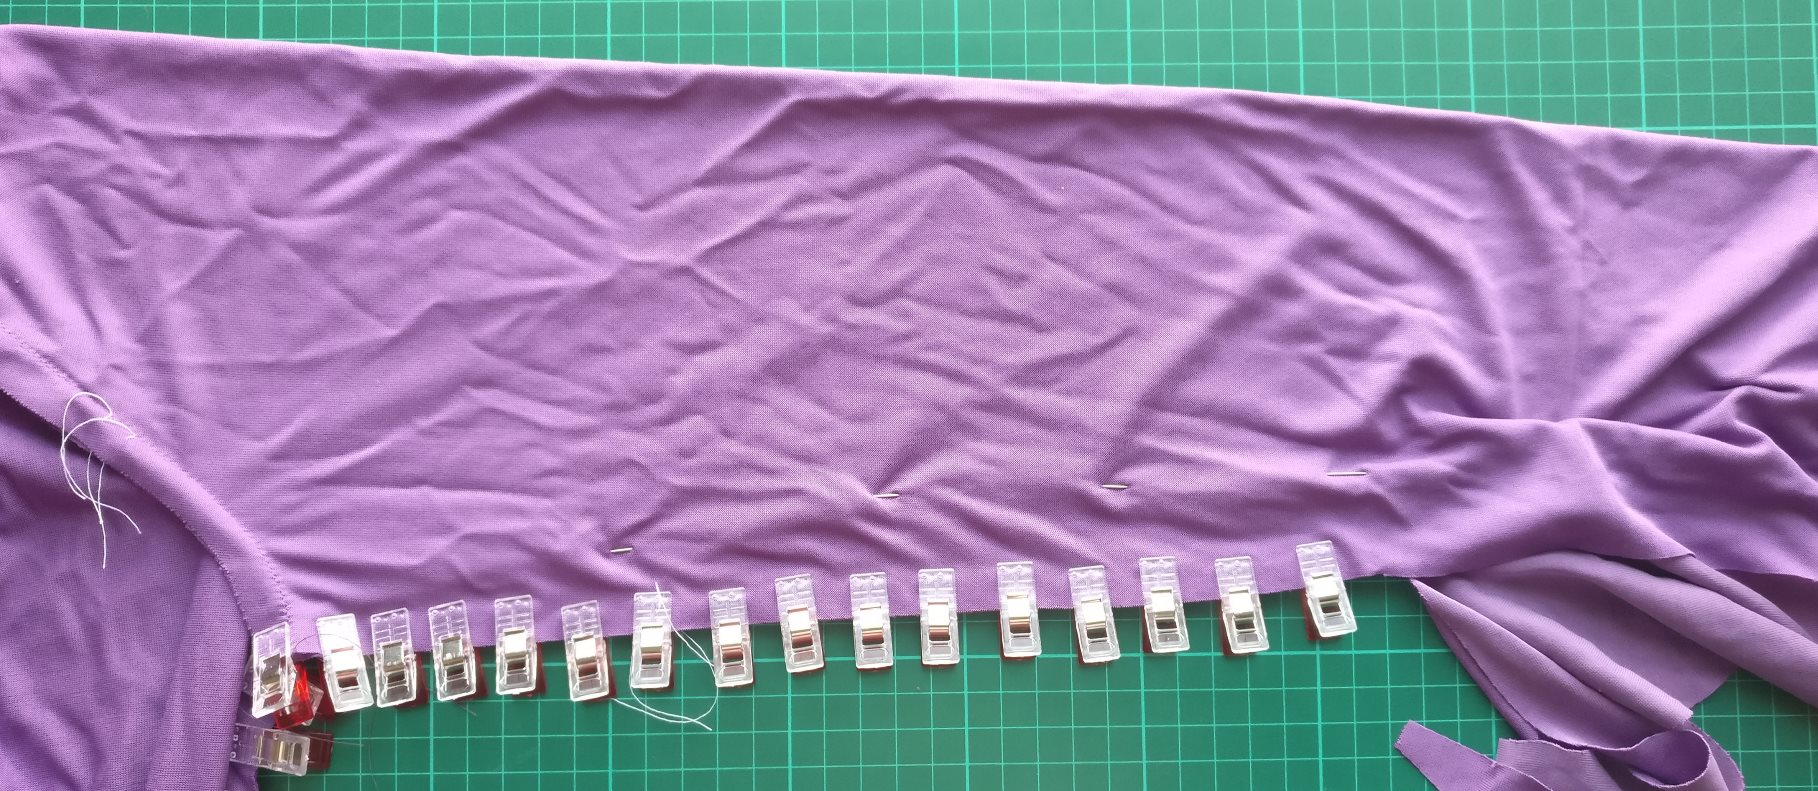
The actual sleeves I found were too roomy – I don’t particularly like clingy sleeves, but it didn’t feel like baggy sleeves were right for the top, so I pinned the side and sleeve seams, and then took the seams in slightly as required – you can see below I took the sleeves in by about 3 cm along most of the length. I also decided the final length of the sleeves and with some pinning and marking assistance from Mr SewSmart I managed to get to a nice sleeve.
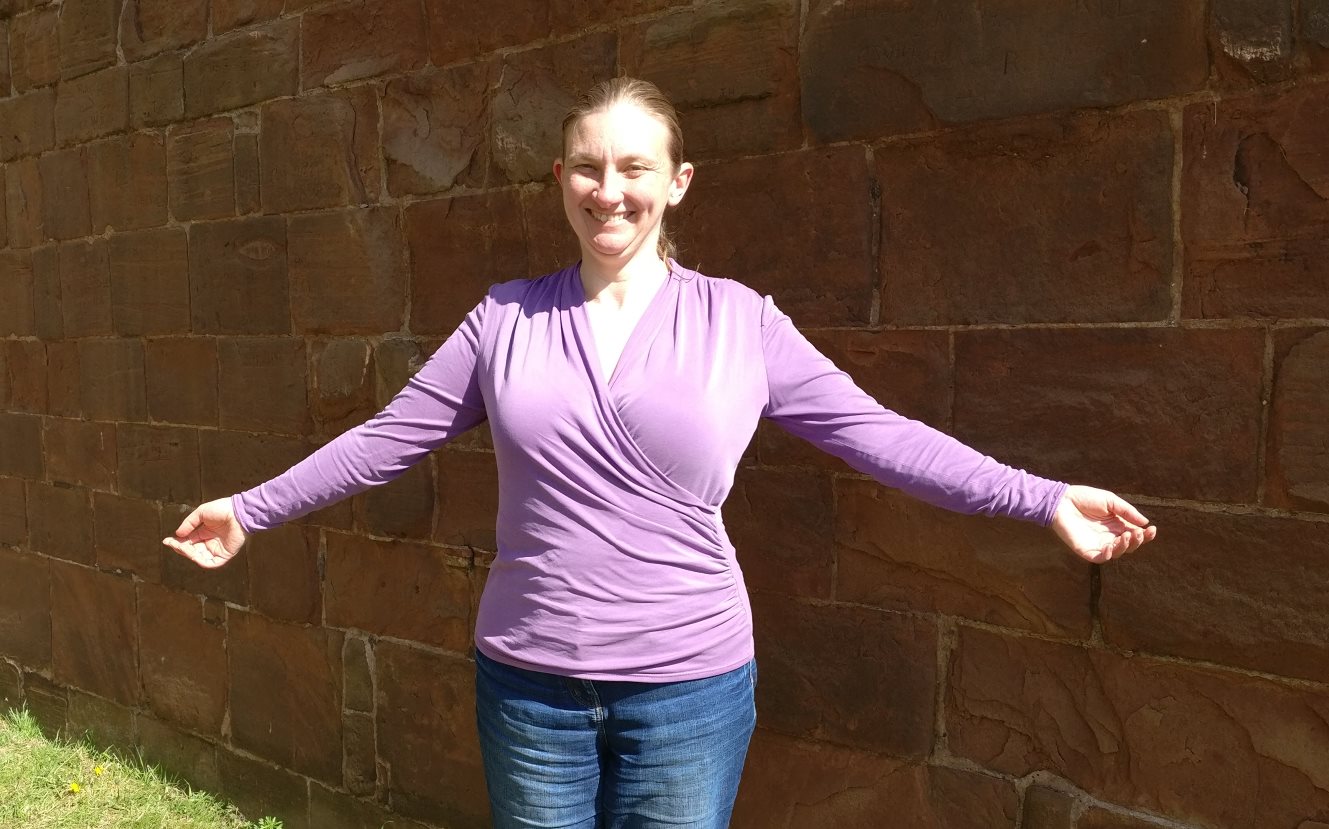
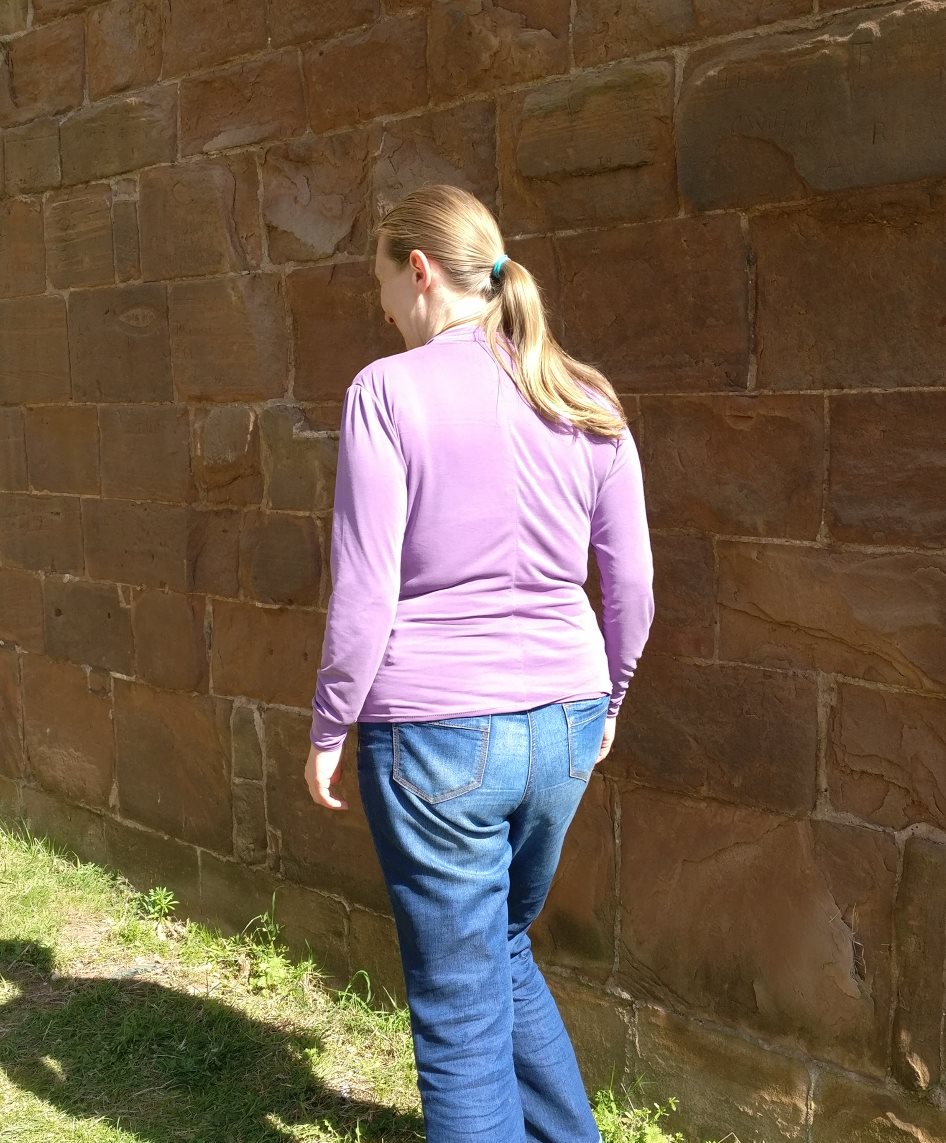
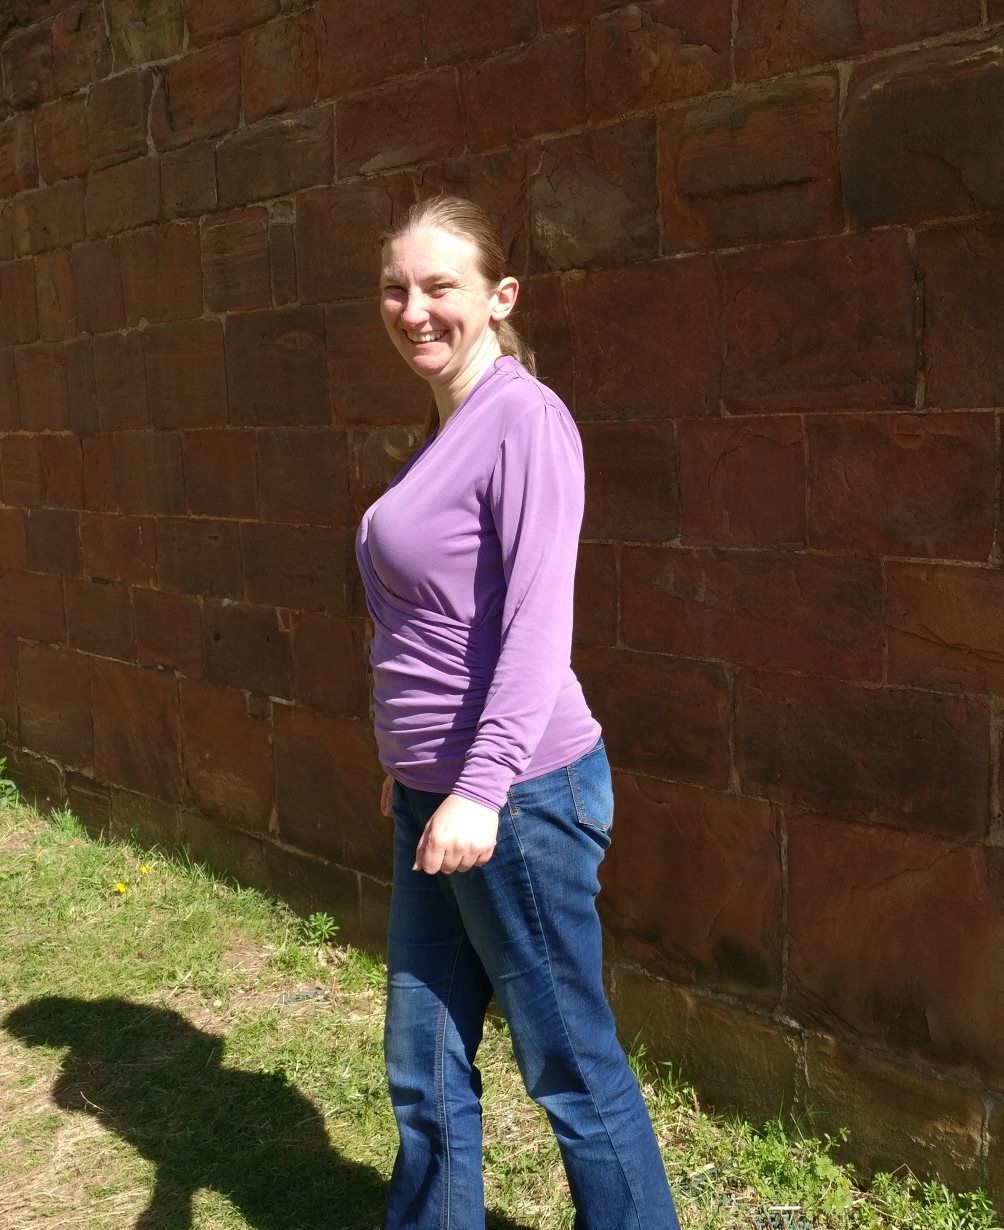
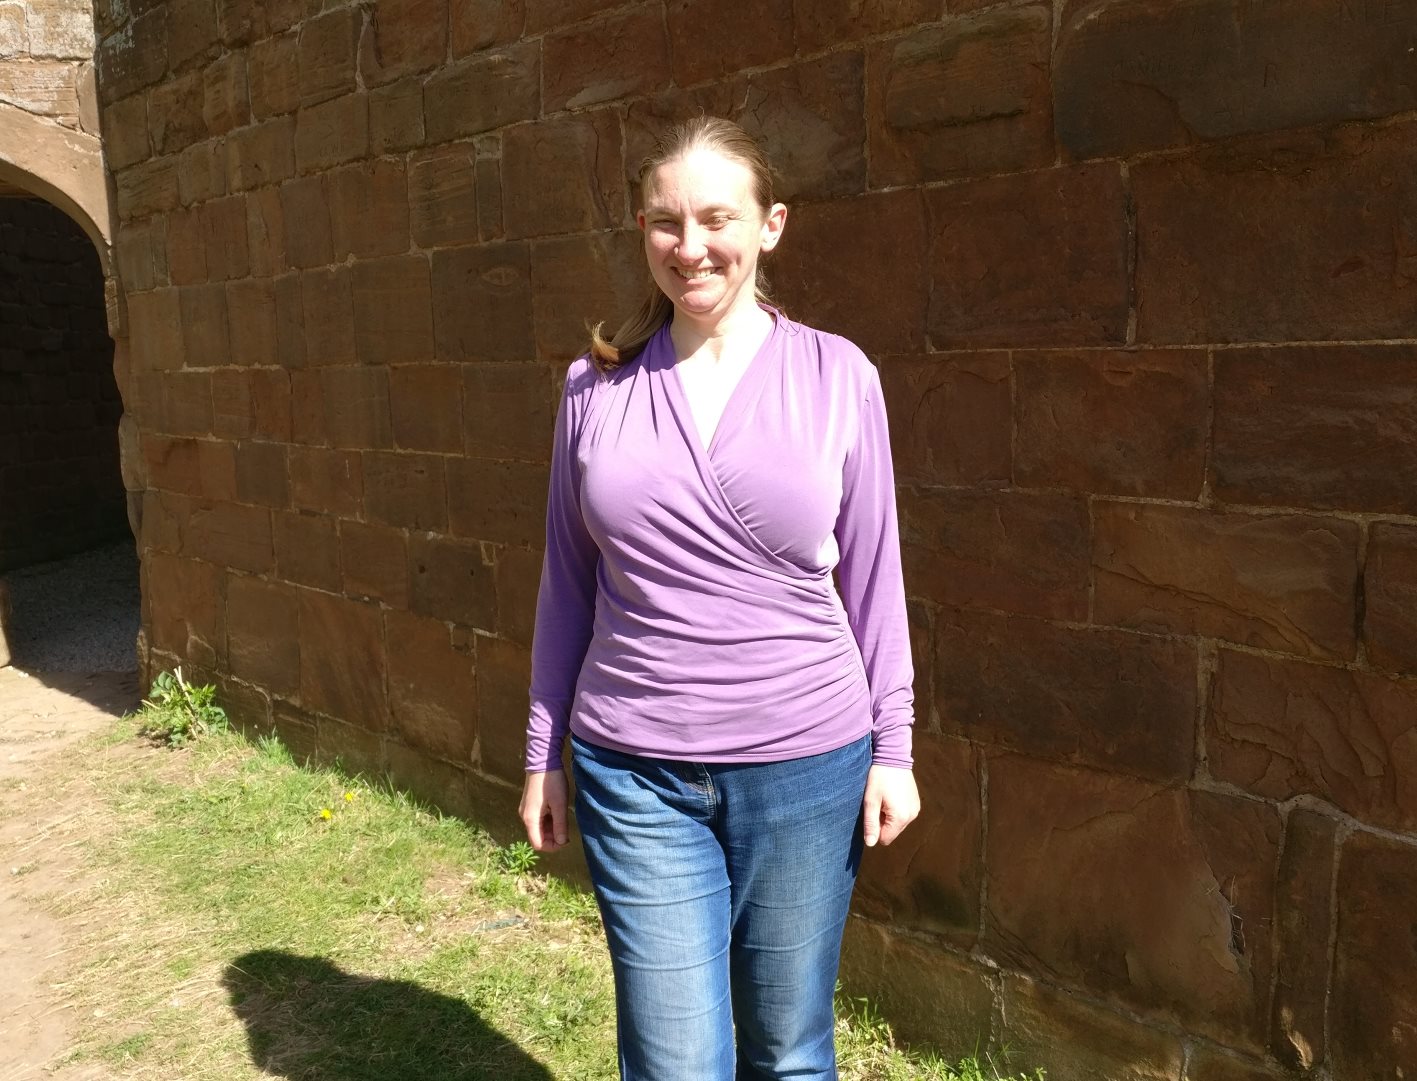
I had read somewhere that using knit interfacing can improve the look of the twin needle hem. I tried it out on this top. Because I wanted to keep the length of the top I only used a hem of about 1 cm, which probably made my life more difficult. I decided to cut 1 cm wide strips of fusible knit interfacing to the bottom of the t-shirt and turn up along the edge. This ended up being rather fiddly, and I’m not sure how much better this made the hem. I am pleased with the hem, but I don’t think it would be all that different without the interfacing. Either way though, I tested my skills against a piece of material and a pattern that both scared me, and I’ve ended up with a wearable garment – It’s not my favourite, as I find the wrap layers difficult to wear. The model on the pattern envelope wears both across the bust apex, but I think on me that looks silly and feels uncomfortable. In addition, I’d like to try and remove the centre back seam next time. That said, when I stop fiddling with it, I do think it’s a flattering shape and comfortable to wear.